


Most prospecting sequences end up in a crowded inbox. A handwritten card gives your outreach a much better chance of being remembered.
Clay is an incredibly flexible GTM tool for finding and enriching prospect data, while Handwrytten makes it simple to send personalized handwritten notes at scale. By connecting the two with a few Clay functions, you can go from a targeted lead list to mailed cards without manually exporting addresses or placing orders one at a time.
This workflow covers how to find a prospect list in Clay, enrich it with mailing addresses, parse those addresses into usable fields, personalize a message, and send cards through Handwrytten.
Before building the workflow, install the two Clay functions needed for the integration:
The Handwrytten function handles the card order. The address parsing function takes a complete mailing address and breaks it into the individual fields needed for delivery, such as address line one, address line two, city, state, postal code, and country.
The address parsing option is particularly useful if you have a ChatGPT API key. There are other ways to structure address data, but this keeps the process inside Clay and makes it easier to map the correct information into your Handwrytten order.
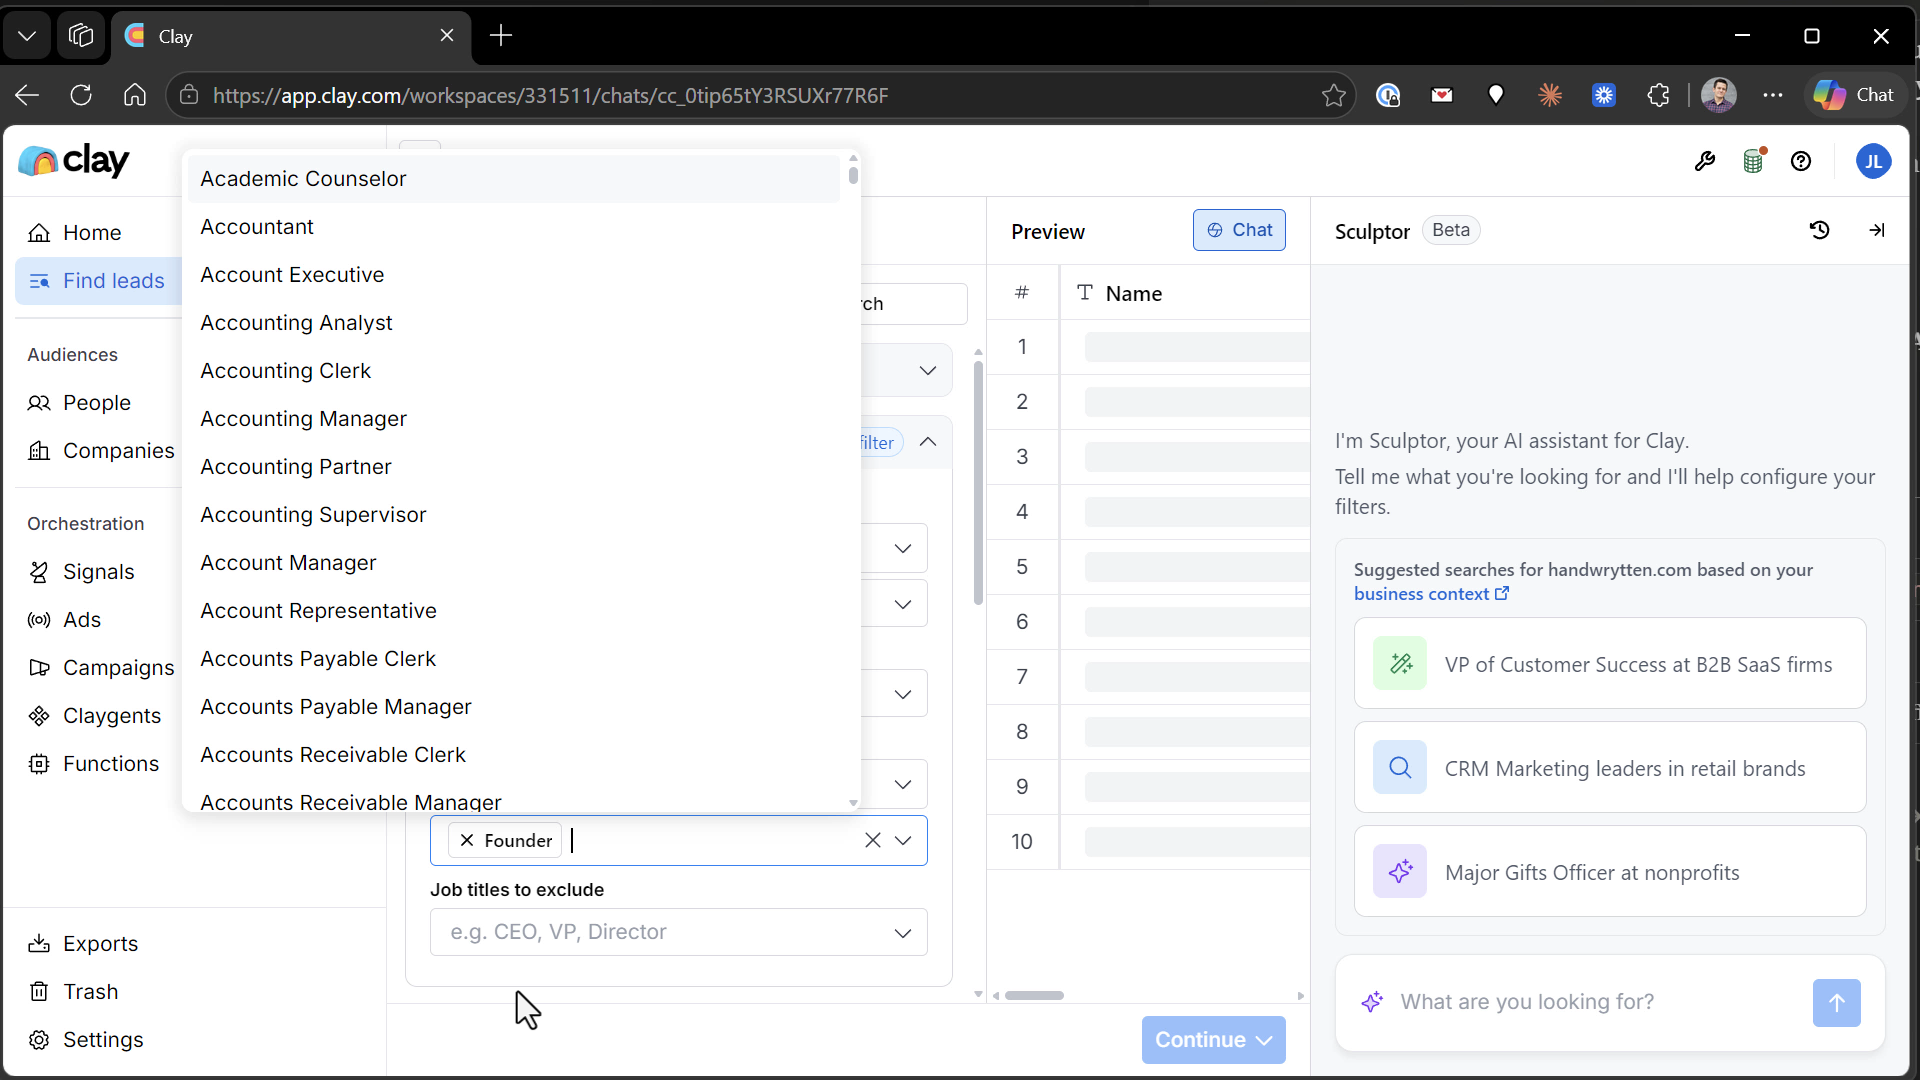
Start a new search in Clay by selecting Find Leads and People. From there, set the criteria for the prospects you want to reach.
For example, you might search for founders located in San Francisco. When testing a new workflow, keep the list deliberately small. A sample of 10 contacts is plenty for confirming that your enrichment, personalization, and card settings are all working correctly.
The goal is not simply to find people. It is to find people whose information can support a thoughtful, deliverable outreach campaign.
Once the search results are ready, add an enrichment for the contact’s main corporate mailing address.
Click “Add Column” -> “Add Enrichment” -> Search for “Address” and choose the “Company Address” waterfall.
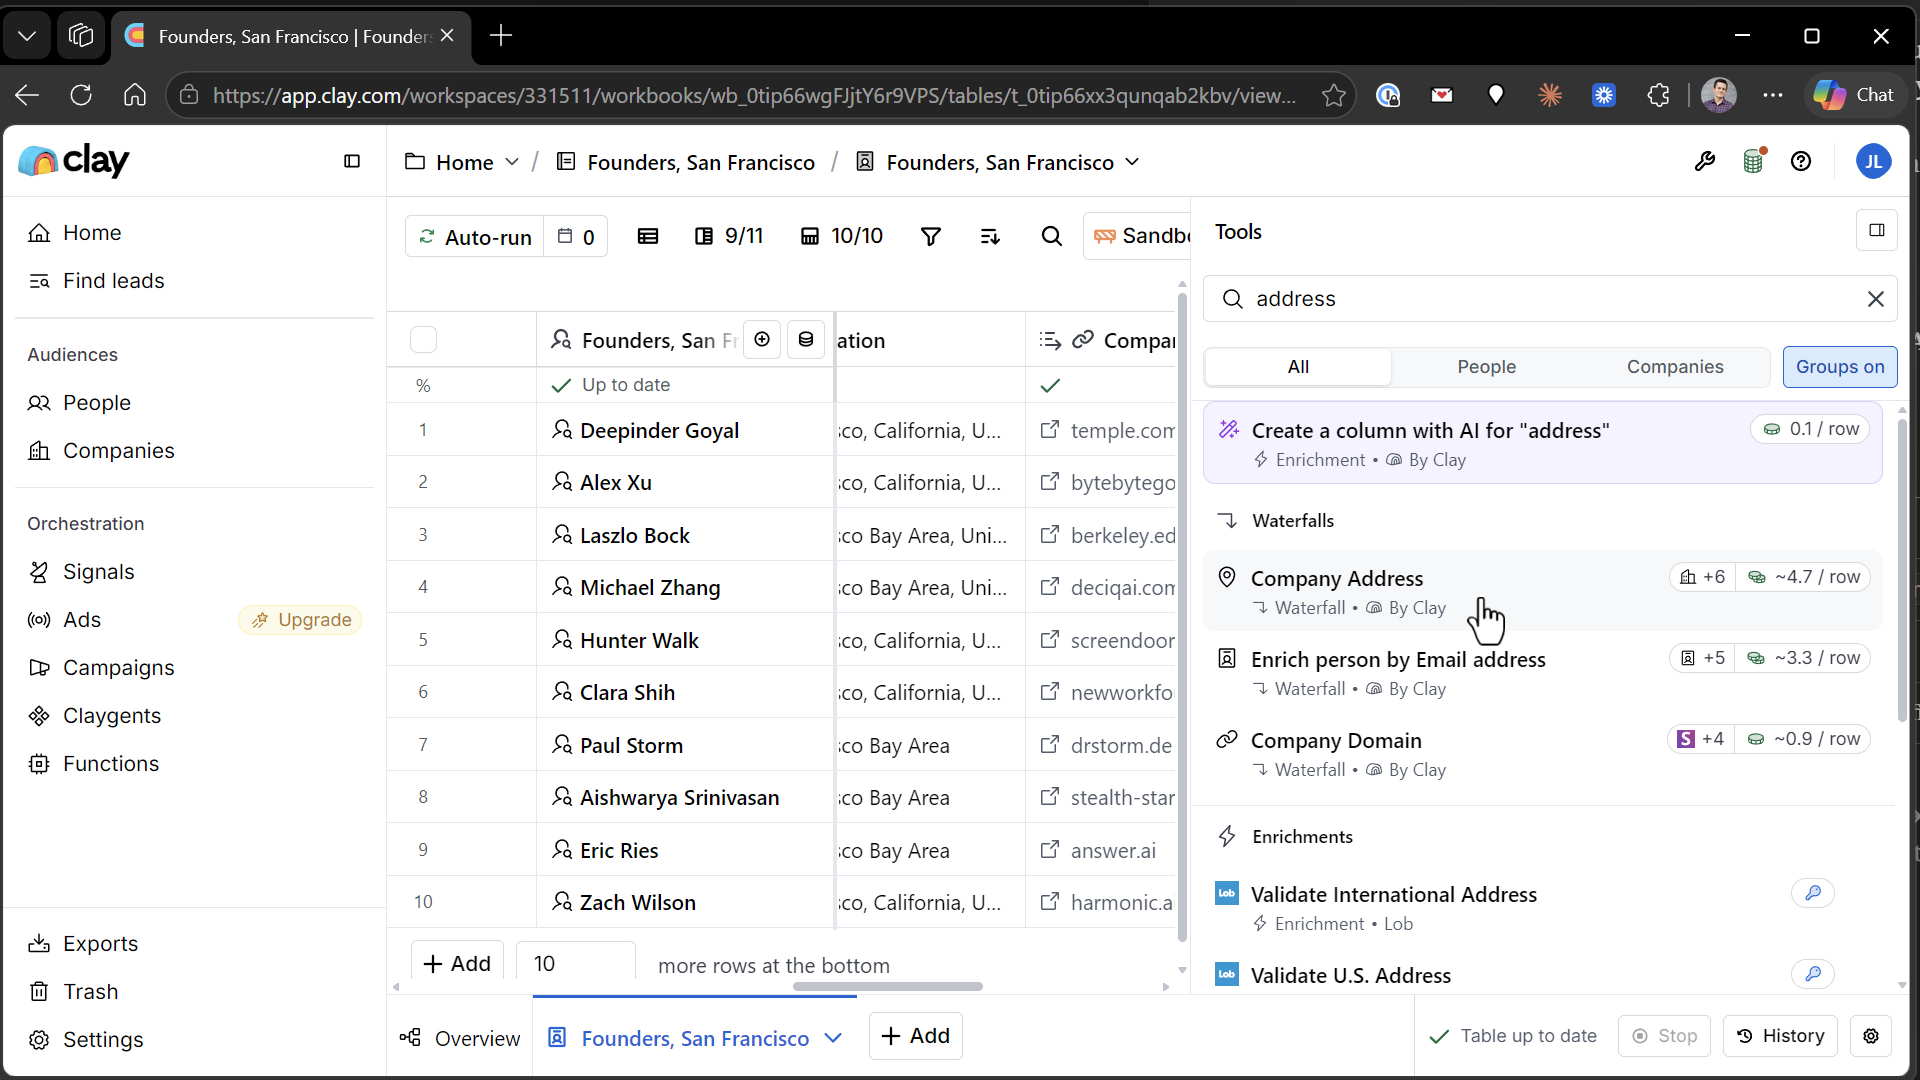
This step uses Clay credits, so use it thoughtfully, especially when working with larger lists. Not every record will return a clean, complete address. That is normal. Some contacts may have partial data or no usable mailing address at all.
You do not need to clean up every incomplete record manually before continuing. The workflow can skip rows that do not have enough address data to send a card.
Next, add another enrichment column and select Function. Choose the Parse Address Fields function you installed earlier.
When configuring it, choose the source address field carefully. Select the “Address” column, then scroll down and choose the final option, also named “Address”.
That final address field contains the completed result from the address waterfall, making it the best source for parsing.
You may not see the fully formatted address directly in the function output as it runs, but the parsed components will be available to map into Handwrytten. This is what allows the card order to receive each required delivery field separately.
Before sending a card, create two formula columns in Clay:
Select Add Column, then choose Formula. In the top field, write the message you want recipients to receive.
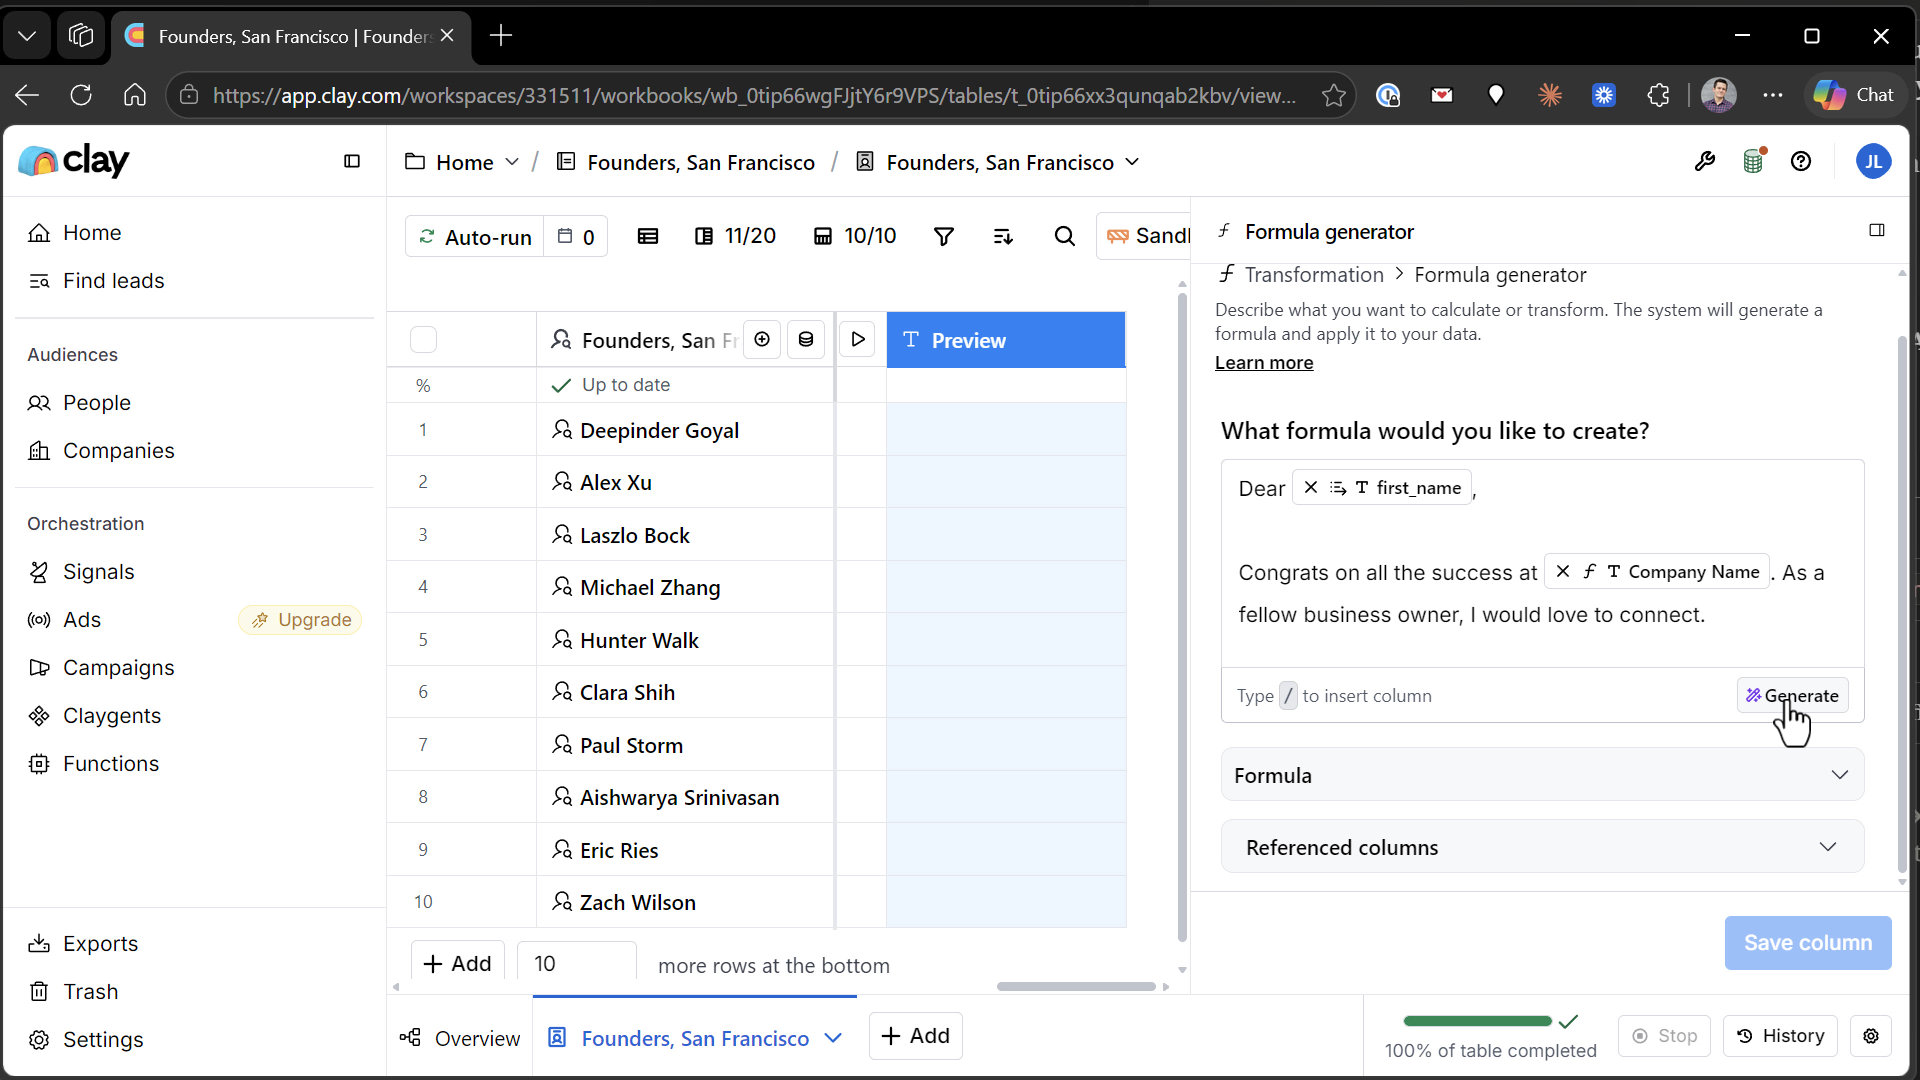
Add line breaks wherever you want the handwritten note to begin a new line. You can personalize the text with Clay merge fields using slash commands, such as a recipient’s first name.
Once the wording is ready, click Generate to create the formula, then name the column Message.
Repeat the same process for the sign-off. Create another formula column, enter the closing you want to use, generate the formula, and name the column Wishes.
Keeping the message and sign-off in separate fields makes the Handwrytten mapping straightforward and gives you more flexibility if you later want to test different closings.
Now it is time to connect the list to Handwrytten. Add another column, se
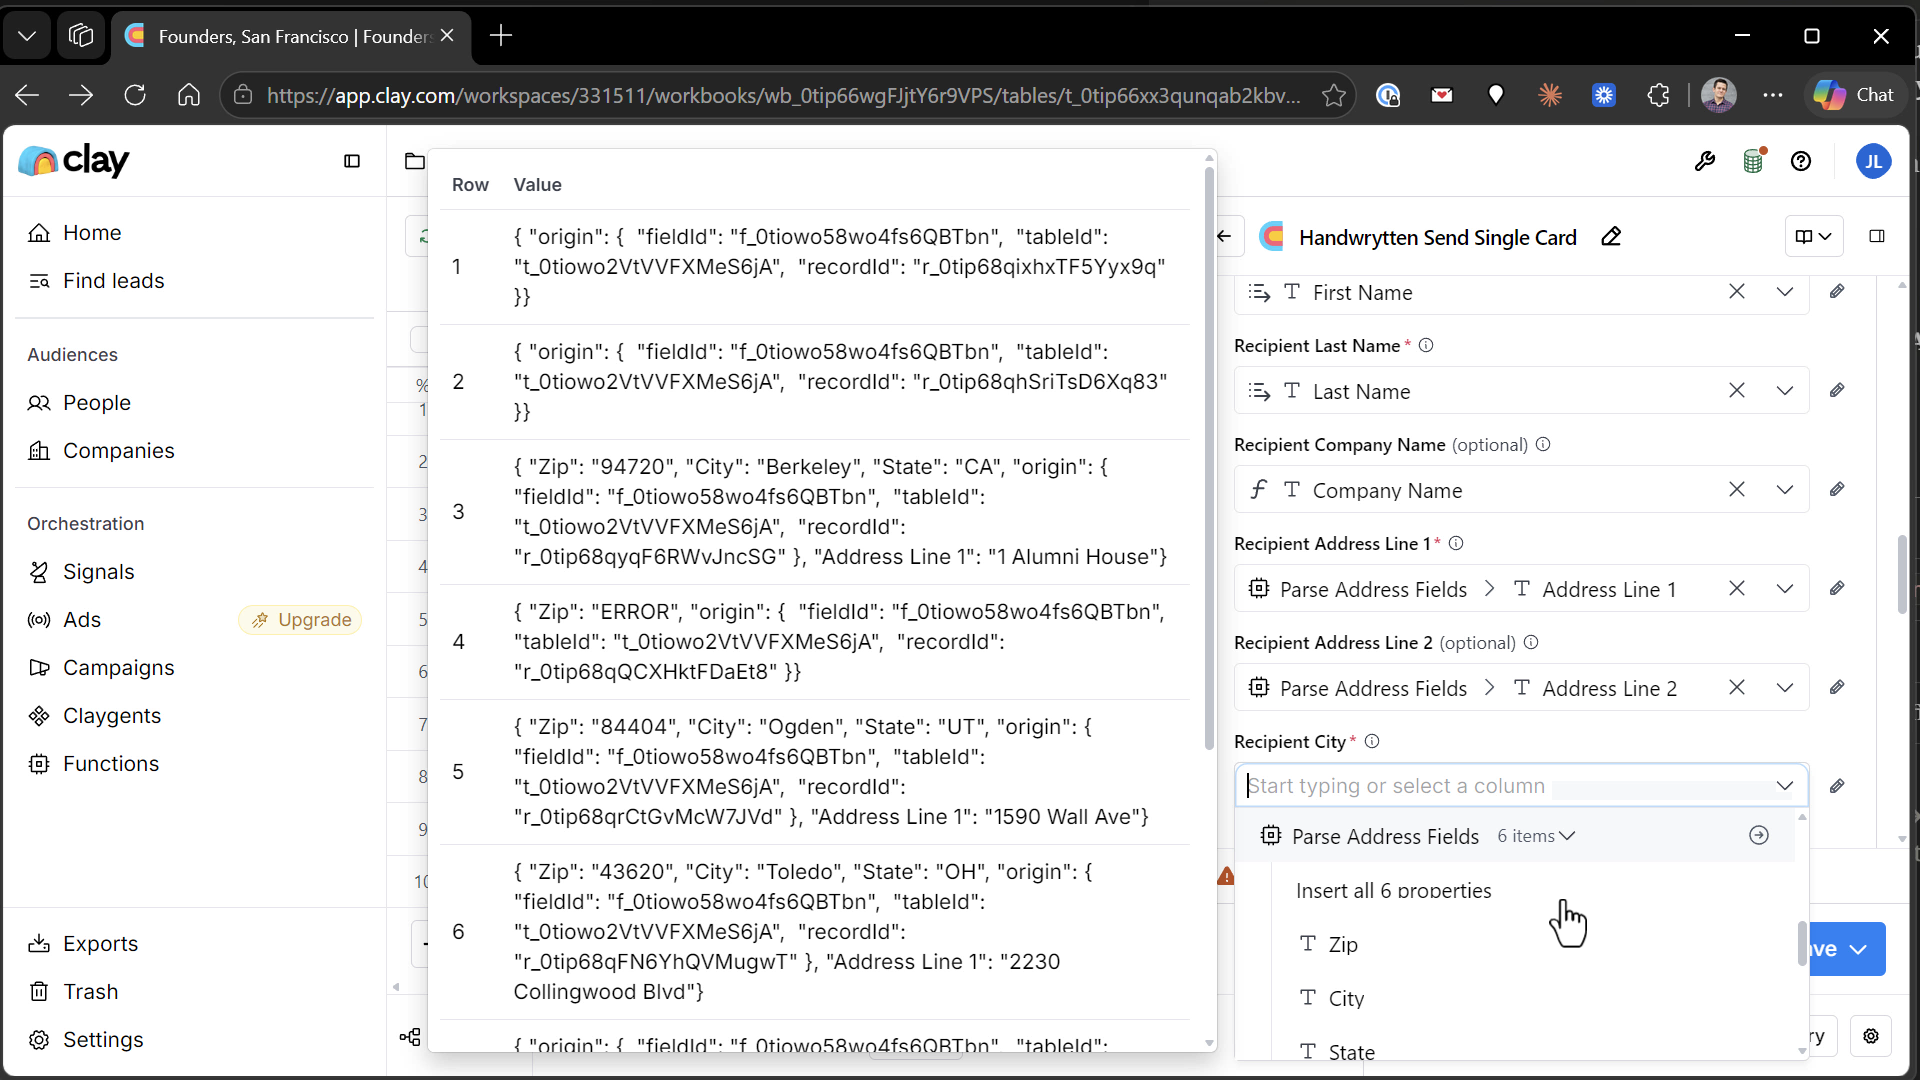
lect Function, and find Handwrytten Send Single Card.
There are several fields to configure, but the logic is simple: fixed values should be entered as fixed values, while recipient-specific values should be mapped from your Clay columns.
For information that does not change from one order to the next, such as your return address, change the field icon from the pencil to the keyboard. Then type the value directly into the field.
This is ideal for consistent sending details that apply to every card in the campaign.
For fields that vary by prospect, leave the pencil icon selected and choose the appropriate value from the available column list.
Map all recipient mailing details from the Parse Address Fields column. That function provides the structured address data needed to complete the order accurately.
You will also need the Card ID for the card design you want to send. Find this in Handwrytten by opening the desired card and pulling the ID from its URL.
Finally, map your two personalization fields:
Once every field is mapped, run the function. If this is your first time using the workflow, place your Handwrytten account in test mode first.
Test mode is a smart safeguard for checking that:
Clay will run the automation only for rows with complete mailing data. Contacts with missing or unusable addresses are skipped, which helps prevent failed or incomplete card orders.
After the Clay automation runs, open Handwrytten to confirm that the orders have been created.
That is the full Clay and Handwrytten prospecting workflow: identify the right people, enrich their data, parse their addresses, personalize the outreach, and send memorable handwritten cards directly from your Clay list.
Email gets crowded. A thoughtful handwritten note stands out.


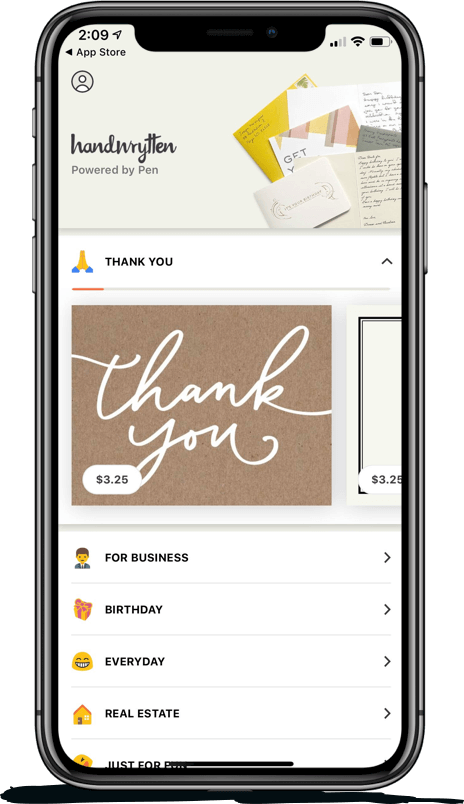
Scale your handwritten outreach, creating positive impressions and long lasting bond.
Sign Up Today!

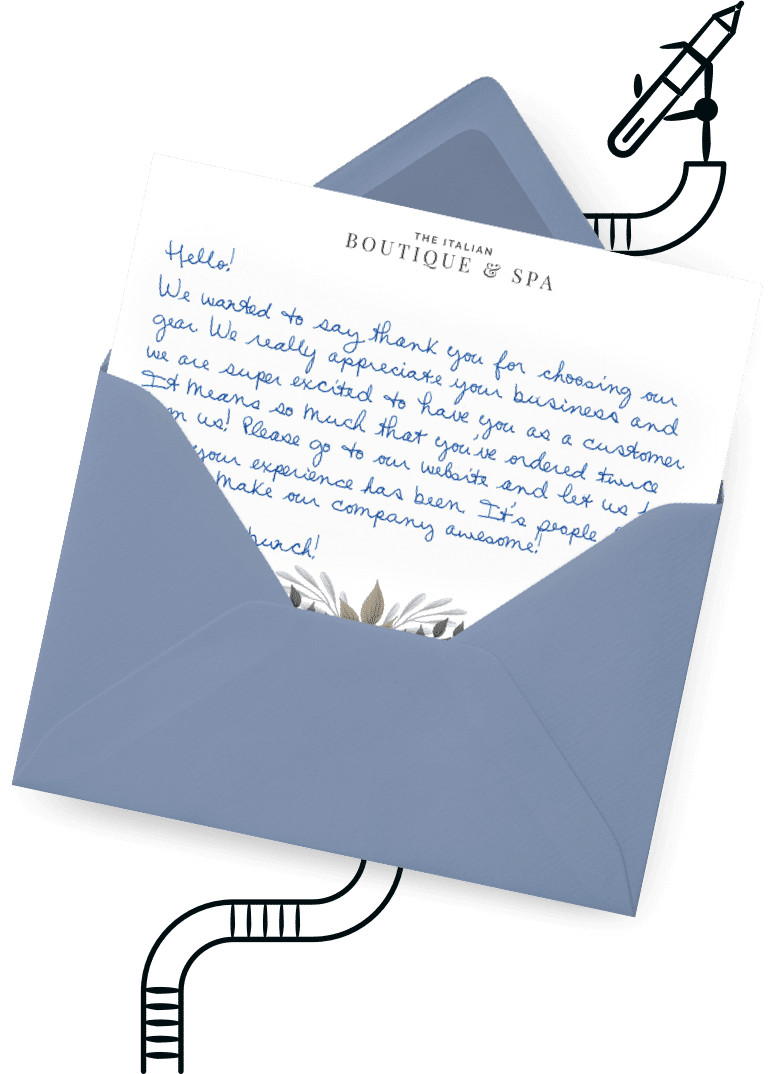

Over 100 designs to choose from or design your own. Our online card customizer makes it simple.
Check Out Our Cards!




Thank you.
