
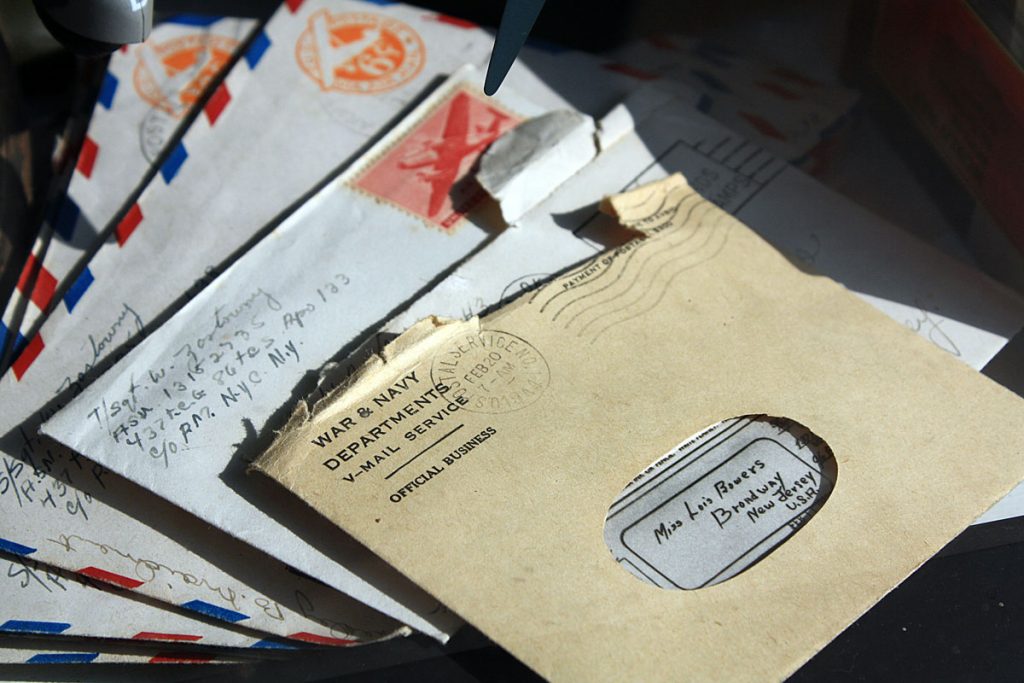
In today’s world, technology makes sending instantaneous messages easy. However, when you want to send a lasting and meaningful message, nothing compares to a tangible letter or card. Learning how to address an envelope is an essential component of ensuring your message gets to its intended destination, but it’s something many people struggle to understand. How do you properly address an envelope?
Not too long ago, people dropped notes and cards in the mail all the time. Knowing the proper way to address an envelope was second nature to many. That’s not the case today. We’re so used to sending quick text messages and emails that many of us don’t remember — or never knew — how to properly write on an envelope.
Getting the mailing address right is vital. If you accidentally mix up the mailing and return address placements, you’ll end up with your beautiful card or heartfelt letter back in your mailbox.
Write the name and address of your recipient on the envelope’s front part. Position the address parallel to your envelope’s longest edge. You also need to list the recipient’s name and address correctly. The right way to address an envelope looks like the following example:
A properly written mailing address will look something like the following example:
MR. JOHN SMITH
123 MAIN ST., APT. 4
PHOENIX, AZ 85014
How can you make things easier for the U.S. Postal Service? Make sure you print neatly using all capital letters. Leave approximately a half-inch of blank space across the envelope’s bottom. The Postal Service places a bar code in that space.
Military addresses follow the same general format as a regular address, but they don’t use the typical city and state names you’d otherwise see.
The city name will be one of the following:
Depending on the day station, you’ll use one of the following for the state:
The ZIP code portion stays the same, but you might need to add the extra four-digit number code for delivery.
If you want to mail a letter or package to an overseas address that isn’t a military address, you’ll use a similar address format. However, you’ll have an additional line on the bottom, after the city, state, and ZIP code line, to write the country’s name.
Some countries write the ZIP code in front of the city and country. Check to see what’s standard for the country where you want to send your mail.
Properly addressing an envelope doesn’t end with your recipient’s information. Although technically not required for all types of mail, the return address is an essential part of preparing an envelope. If you don’t include a return address, the Postal Service won’t bring the item back to you if its employees cannot deliver it. The Postal Service sometimes can’t deliver mail when an envelope is damaged or when the address or postage is incorrect. Some classes and types of mail also require you to include a valid return address.
You’ll write the return address in the envelope’s top left-hand corner. You can also place a return address on the back of an envelope in the middle of the flap.
Write your address following the same format listed above. Even if the type of mail you’re sending doesn’t require a return address, add it to your envelope.
Before you place your mail in the mailbox, remember to add the correct postage. Otherwise, your card or letter won’t be sent to your recipient. You’ll add the stamp in the top right-hand corner of the front of an envelope.
The postage you need to add will vary depending on a few factors:
Regular snail mail arrives within one to three business days after you mail it. You can go with a Postal Service Forever Stamp for many domestic deliveries or mail you’re sending somewhere in the United States. Bonus points: Forever Stamps maintain their value no matter how long you keep them, regardless of whether postage rates change.
What if you’re mailing an envelope that’s not a standard size? Postage for oversized, square, and otherwise unusual envelopes starts at approximately 70 cents. Be prepared to pay a little more if you’re sending mail in a huge, bulky, or complicated envelope. If you’re mailing something to another country, this mailing service will cost more as well. You can also spend more money on services such as certified mail or next-day delivery. Investigate the best options that work for what you plan to mail and when you want your mail to arrive.
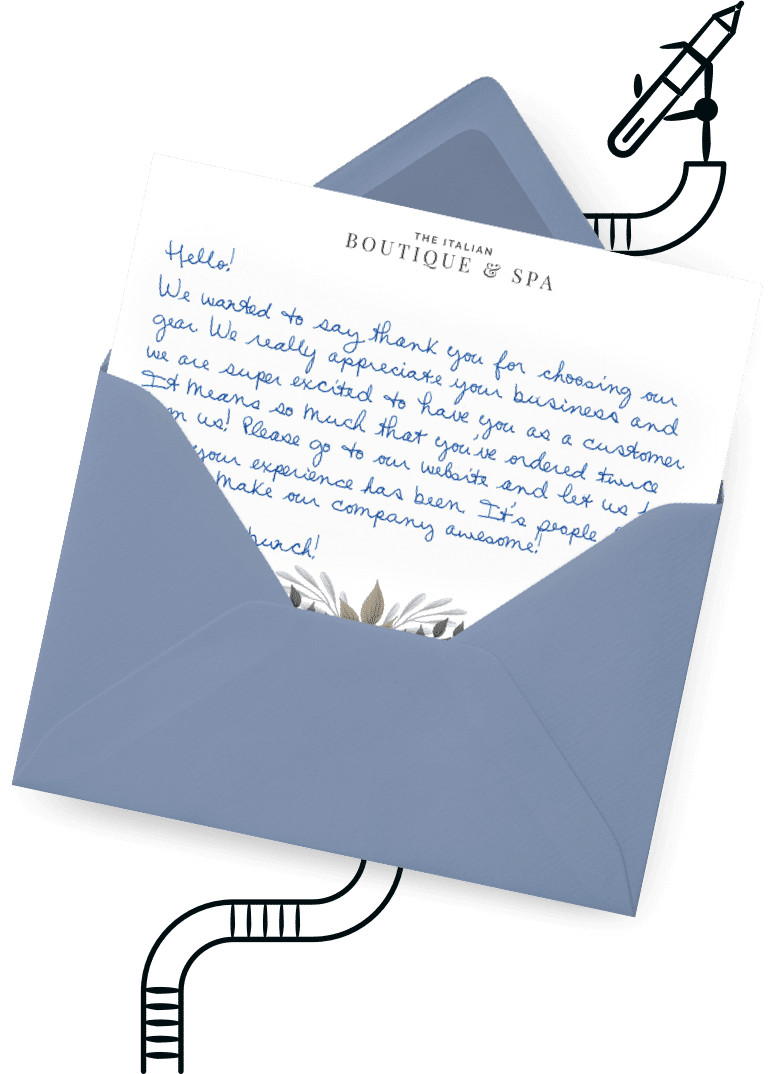
Learning how to properly address an envelope is essential when you want to send a meaningful message via snail mail. Fortunately, the process isn’t too challenging when you know what to do. Whether you’re mailing a birthday card or a thank you note, accepting a job offer in writing or reaching out to a distant relative or friend, you want to make sure your mail arrives quickly and securely. Following this guide will help get your mail where it needs to go.

Scale your handwritten outreach, creating positive impressions and long lasting bond.
Sign Up Today!

Over 100 designs to choose from or design your own. Our online card customizer makes it simple.
Check Out Our Cards!


Thank you.
