
Save time without losing the personal touch. Template smarter, not harder.
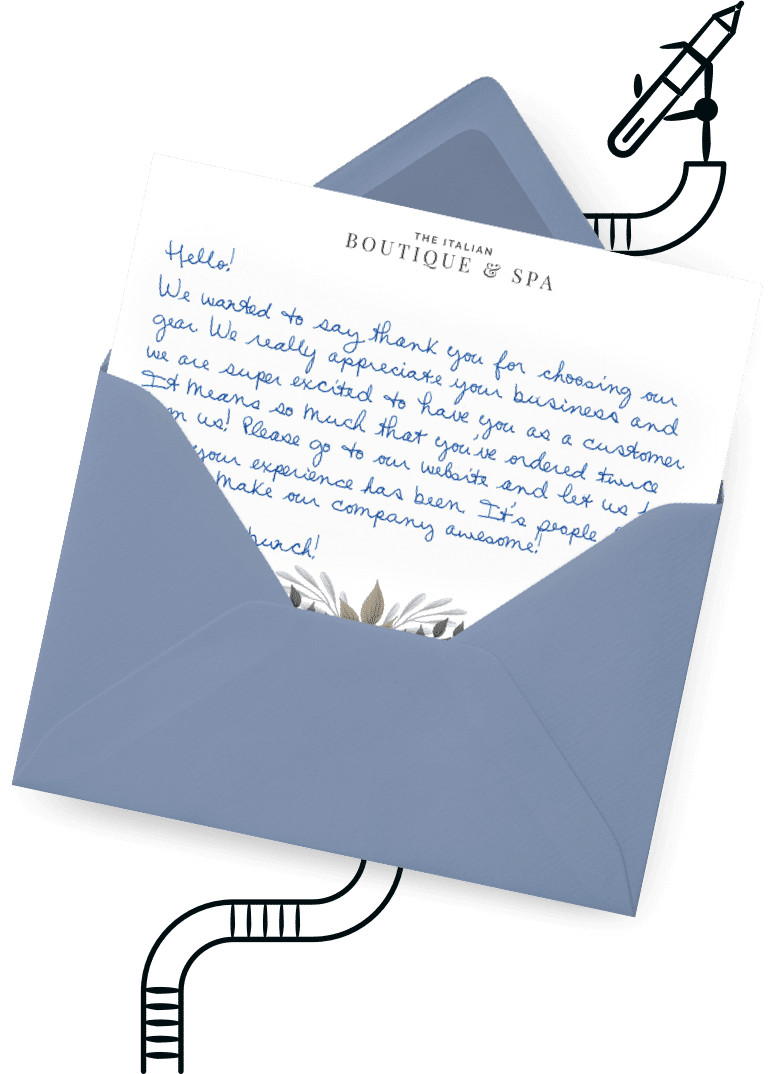
Are you tired of handwriting all your thank-you notes and greeting cards? With Handwrytten, you can save time without losing the personal touch by sending real handwritten messages—without ever picking up a pen.
And it gets even better with message templates.
Templates allow you to streamline your outreach while still making every card feel personal. Save your most commonly used messages, customize them with merge fields, and reuse them anytime—whether you’re sending one card or scaling up to hundreds.
Whether you’re following up with clients, thanking customers, or staying in touch with prospects, Handwrytten helps you stay consistent, efficient, and thoughtful—all at once.
Here’s how to create, use, and manage message templates on the Handwrytten website:
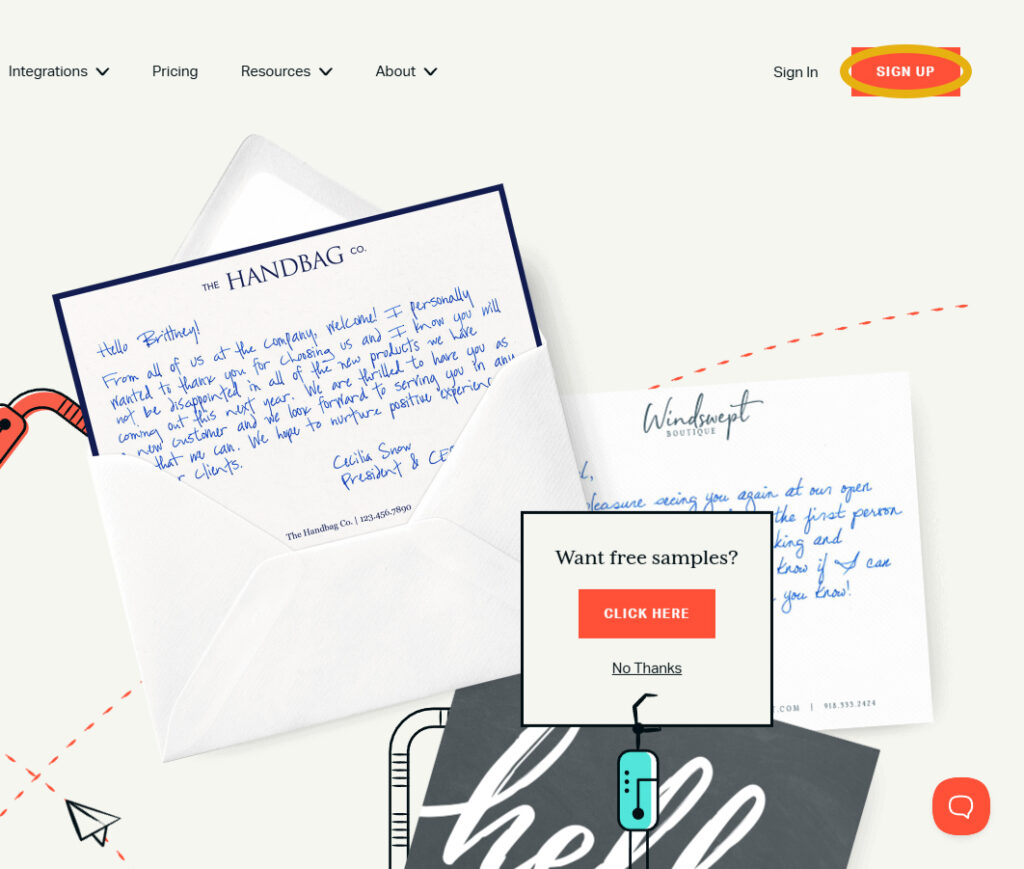
Head to Handwrytten.com and click the orange “Sign Up” button to create an account, or log in using your existing credentials.
📝 Pro Tip: Creating an account also gives you access to your address book, saved cards, and handwriting styles.
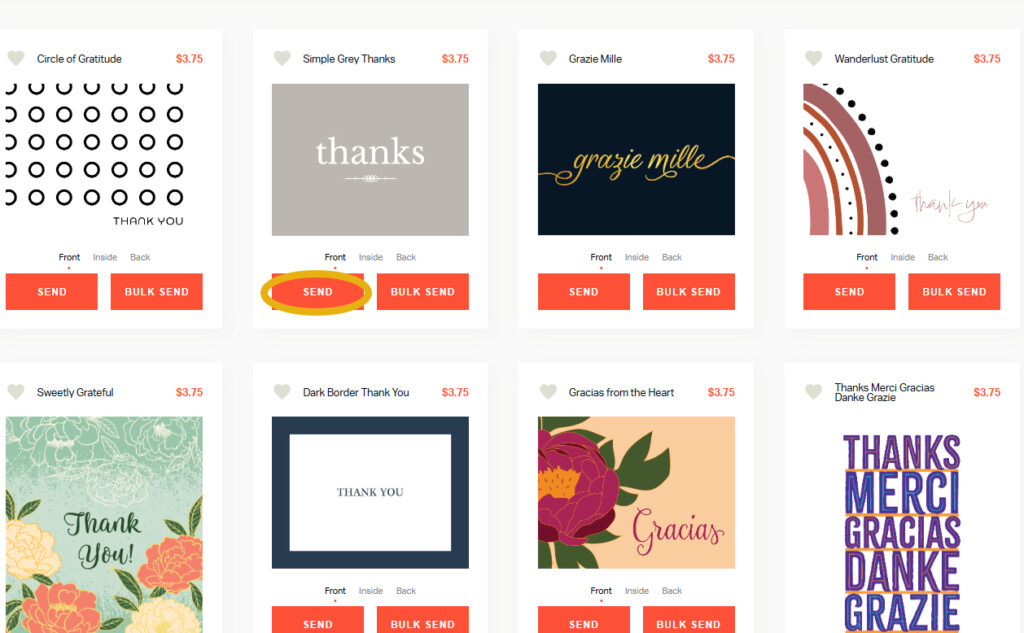
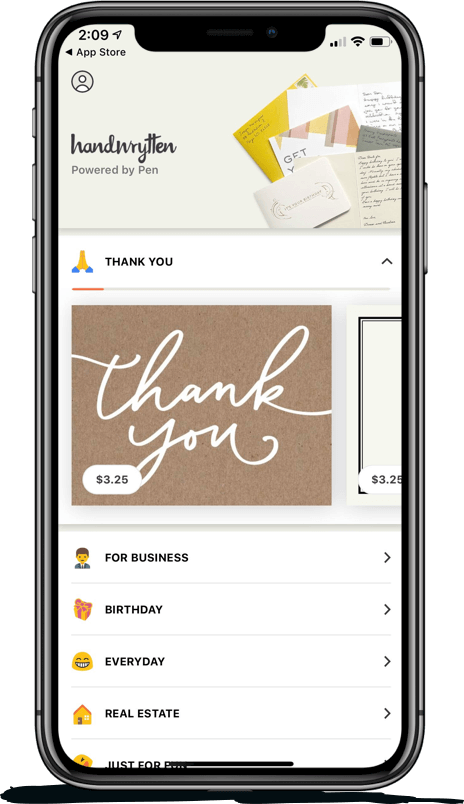
Click the orange “Send” button or go to the Card Selection section from the main menu. Browse our categories or visit the Design Your Own Card section to upload your own design.
Once you’ve selected a card, click the teal “Send” button.
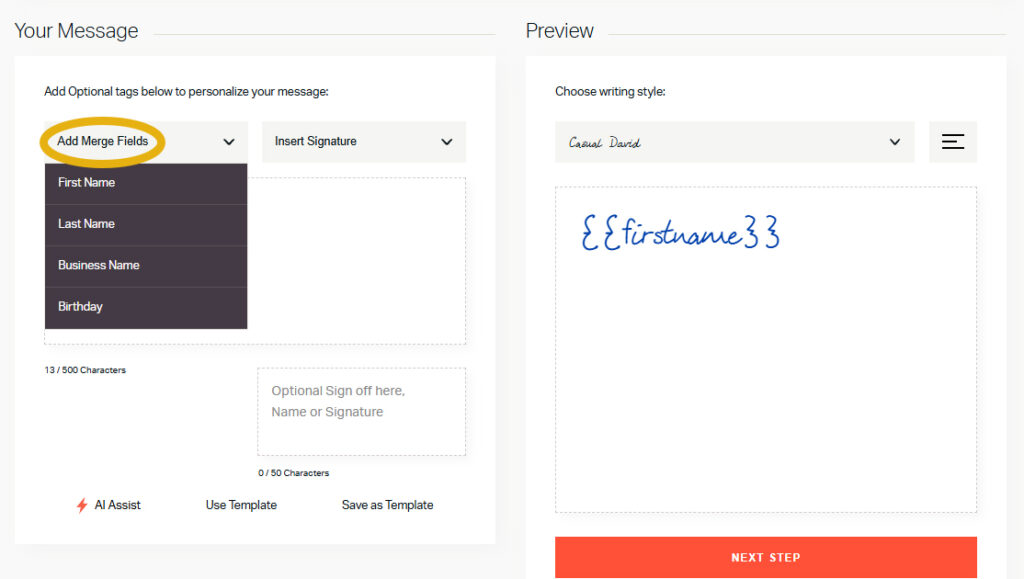
You’ll land on the Your Message page. This is where you craft your handwritten message.
Use the orange buttons above the message box to insert merge fields such as [[First Name]], [[Last Name]], or [[Business Name]]. These fields will auto-populate based on the contact information you’ll upload later.
📝 Pro Tip: Use the sign-off box in the lower-right to add a personalized closing or signature. Learn more in our Signatures Tutorial.
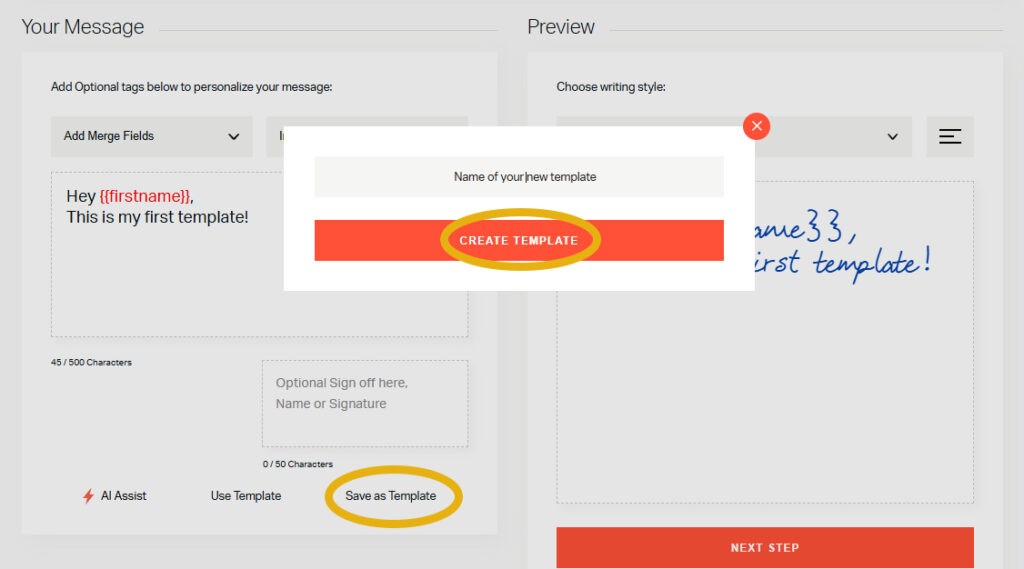
Once your message is written, click “Save as Template” in the lower-right corner. A pop-up will appear asking you to name your template. Click “Create Template” when you’re done.
Don’t worry—you can edit the name and message later!
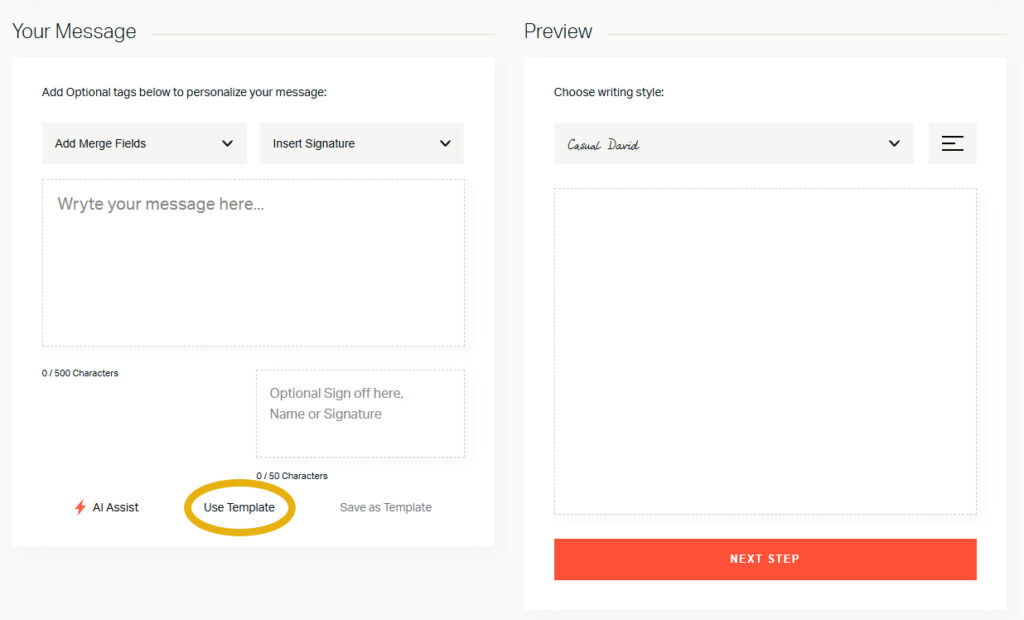
Next time you’re writing a card, click “Use Template” in the bottom of the message box. A list of your saved templates will appear—just check the box next to the preferred template to insert one.
⚠️ Note: Templates save your message, not the handwriting style. The inserted message will appear in the most recently selected handwriting font.
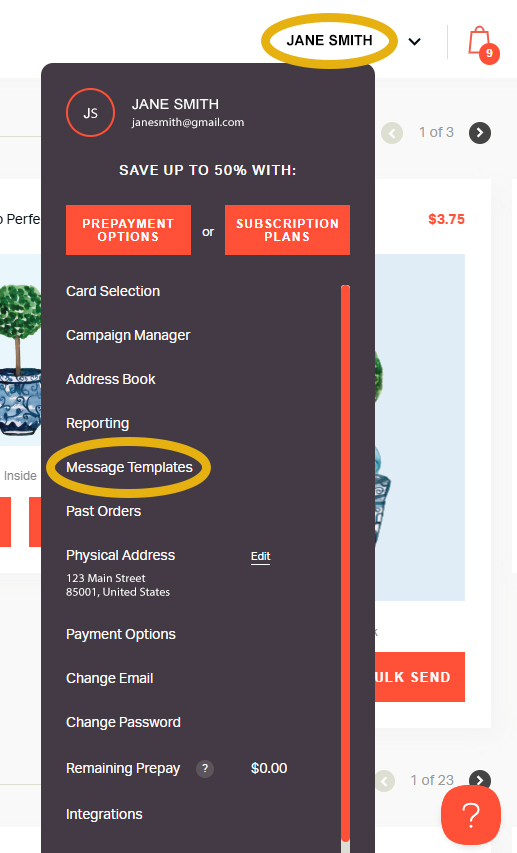
To view, edit, or delete templates, click your name in the upper right-hand corner of the screen and select “Message Templates.”
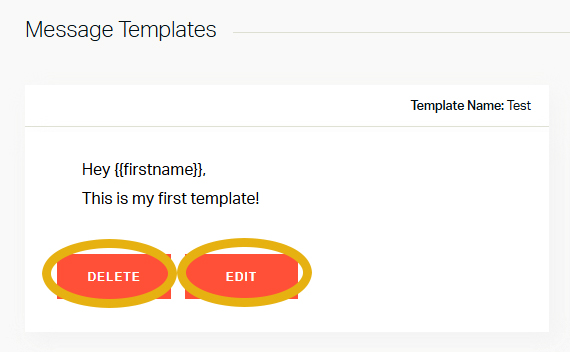
Each saved message will have Edit and Delete options at the bottom of the message block. Click Edit to update your template or Delete to remove it—changes are saved instantly.
Even if you plan to personalize every note, a saved message gives you a consistent base to start from—saving time while still allowing for that human touch. Whether you’re sending birthday cards, thank-you notes, or business follow-ups, templates make it easy to stay thoughtful without starting from scratch.
💬 Can I share templates with my team members?
Currently, message templates are saved to individual accounts. Team members will need to recreate or copy any templates they want to use.
💬 Can I organize templates into folders or categories?
Not currently, but we recommend using a consistent naming convention (e.g., “Thank You – Clients” or “Birthday – Real Estate”) for easy access.
💬 Is there a limit on how long a message template can be?
Templates must follow the same character limits as normal messages—generally about 500–600 characters depending on card size and spacing.
Our support team is here if you need a hand. Contact us anytime—we’re happy to help.
📧 Email: contact@handwrytten.com

Scale your handwritten outreach, creating positive impressions and long lasting bond.
Sign Up Today!

Over 100 designs to choose from or design your own. Our online card customizer makes it simple.
Check Out Our Cards!


Thank you.
