

Sending handwritten cards and notes in bulk is one of the most powerful features of Handwrytten. It allows businesses, non-profits, and individuals to stay in touch at scale, unlike any other medium available. Doing a bulk send also generates the most questions to our account management team! To bring you up the curve on all of the ways to do this, we have created a video tutorial. We will also walk through the process here.
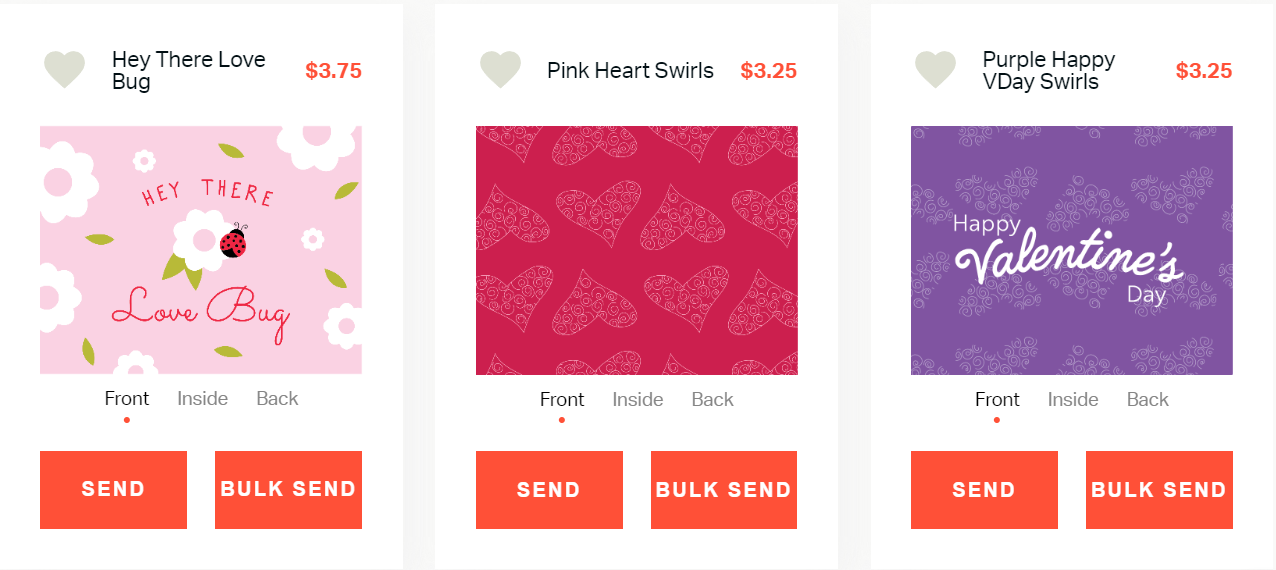
There are actually two ways to send in bulk. The first is just using the “Send” button below any card and assigning multiple recipients. The second method is to use the “Bulk Send” button. Using Bulk Send, you upload a Microsoft Excel spreadsheet. This can be a more flexible way to send handwritten cards in bulk but is a little more complicated. Let’s walk through both methods now.
First, click the send button on the card of your choice. You’ll be taken to a page that looks something like this.
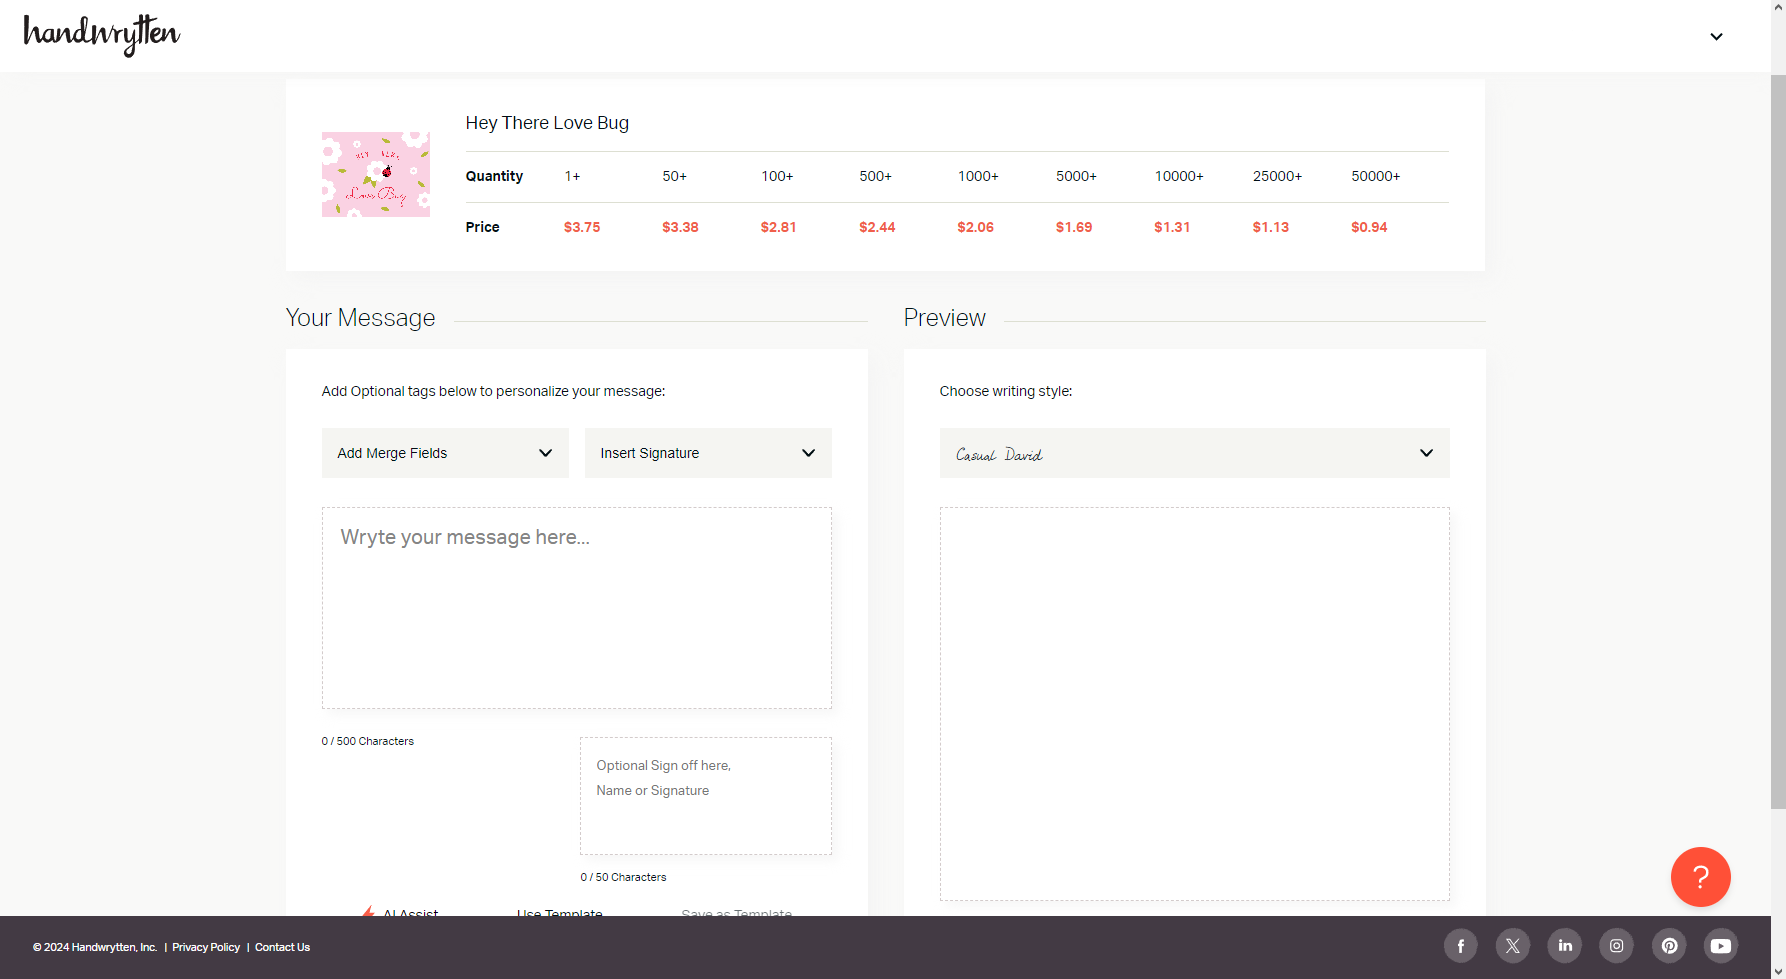
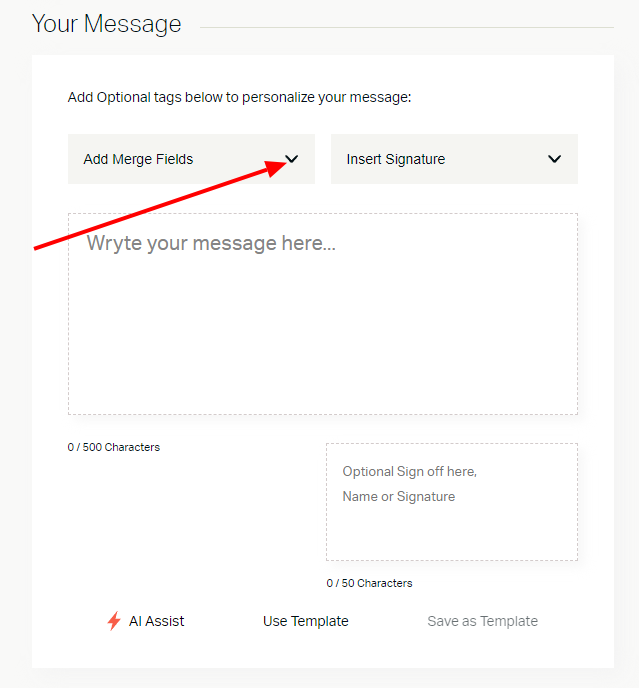
Using this method. When you craft your message, instead of inserting the recipient’s name directly use a “merge tag”, by clicking the ‘Add Merge Fields’ dropdown.
These merge tags will automatically be replaced with the recipient’s first name, last name, or business name by using the information you provide in the handwritten address book. v
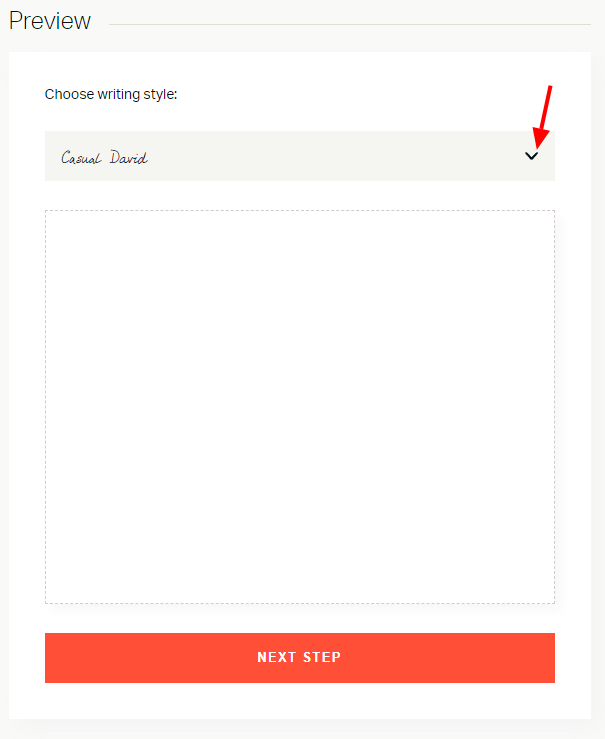
Once you finish writing your note, you’ll be able to choose your writing style at the right using the writing style dropdown.
Click on “Next Step” once you’re ready.

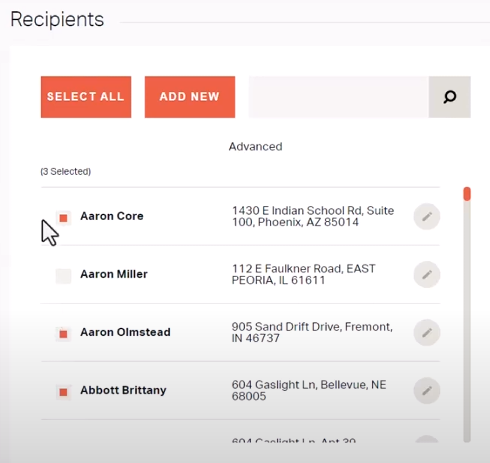
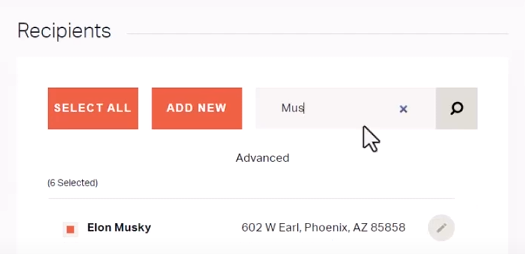
Feel free to search your address book using the magnifier on the right. Just type a few letters of your recipient’s name. The list will filter and just check the checkbox next to each person you want to send the message to. It’s that easy!
If you need to add new addresses, the process is quite simple. You can add contacts one at a time, or upload new contacts in bulk using the Handwrytten Address Import Excel spreadsheet.
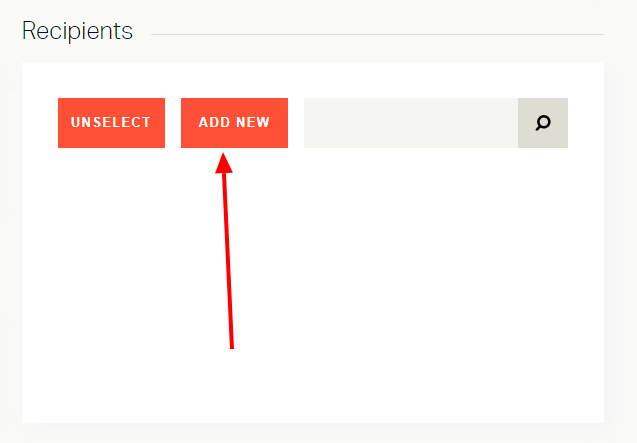
To get started with either option, click the “Add New Recipient” button. Then, you can either type in your recipients by hand, or you can upload your Excel spreadsheet as pictured below.
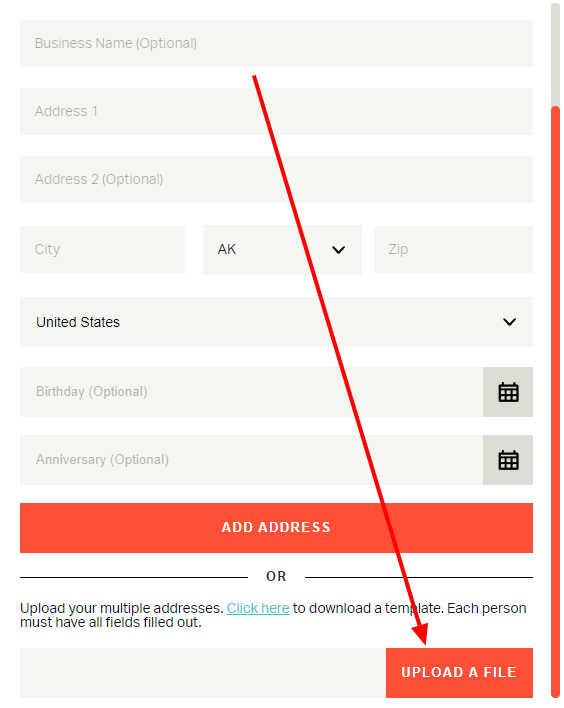
Do note that each person in your address sheet must have all fields filed out in order for the bulk upload to parse properly.
The Excel sheet is fairly simple to fill out. Add a new contact on each row and fill out the columns with their information. See the example below.
The last two columns are optional fields where you can insert a birth date and/or anniversary date. This is so you can schedule out birthday and anniversary cards in advance and they will be written and mailed the week before. If you don’t have this information or don’t want to include it, no worries! You don’t need to fill these last two columns out.
When you’ve completed the template, simply save it and upload it. The new recipients will now appear in your address book and you can select who you want to send cards in bulk to.
From here, you will need to add your Return Address, which is pretty self-explanatory, and you have a few optional add-ons to choose from, as well.
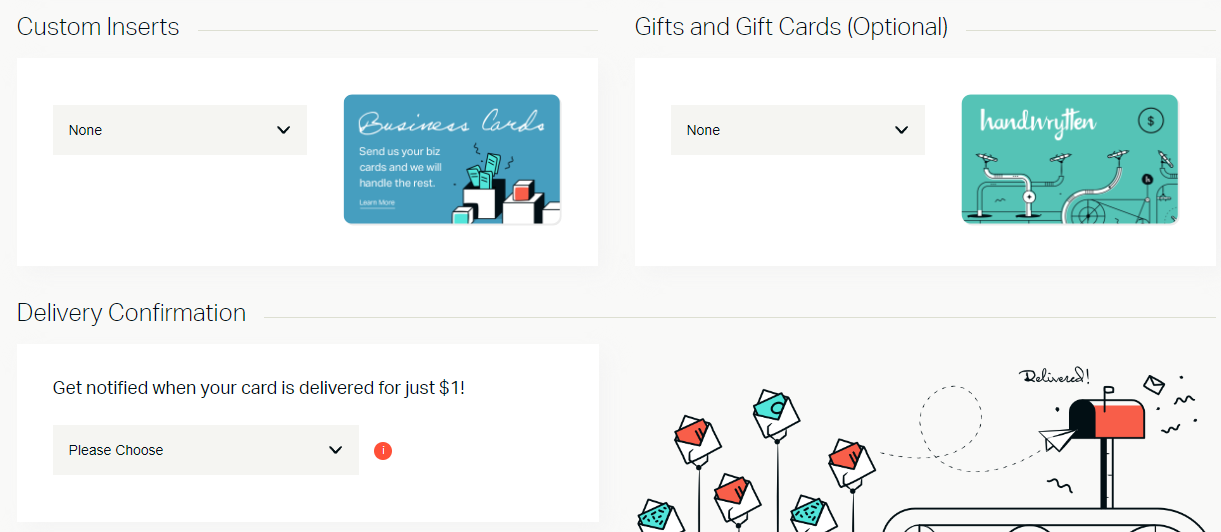
Delivery Confirmations, specifically, cost $1 extra per card, but it’s almost certainly worth sending to know for certain when your cards have been received.
You have now completed your first bulk handwritten note send! Great job! You’re a master at sending handwritten notes in bulk!
The Bulk Send tool is the most flexible way to send notes but does require some knowledge of Microsoft Excel. Additionally, when you use the Bulk Send tool, typically discounts apply for larger orders. In the screenshot below, you can see a steep discount already applying once you get to 50+ cards.

To use the Bulk Send tool, just follow these steps.
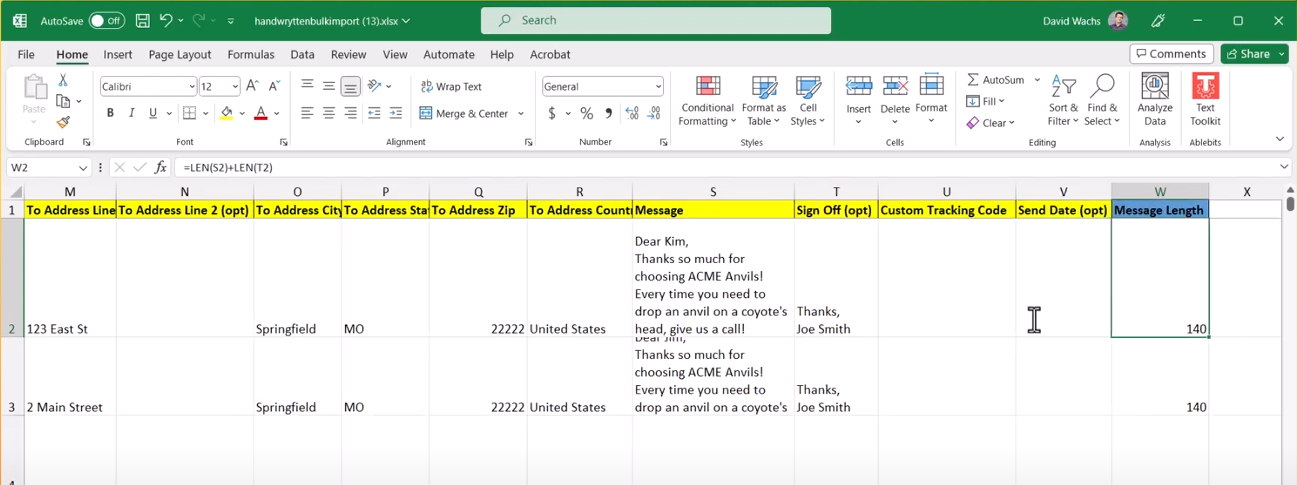
Download the Handwrytten Bulk Import template and read the instructions. Then you can choose to use the “Basic” tab or the “Advanced” tab to write your notes.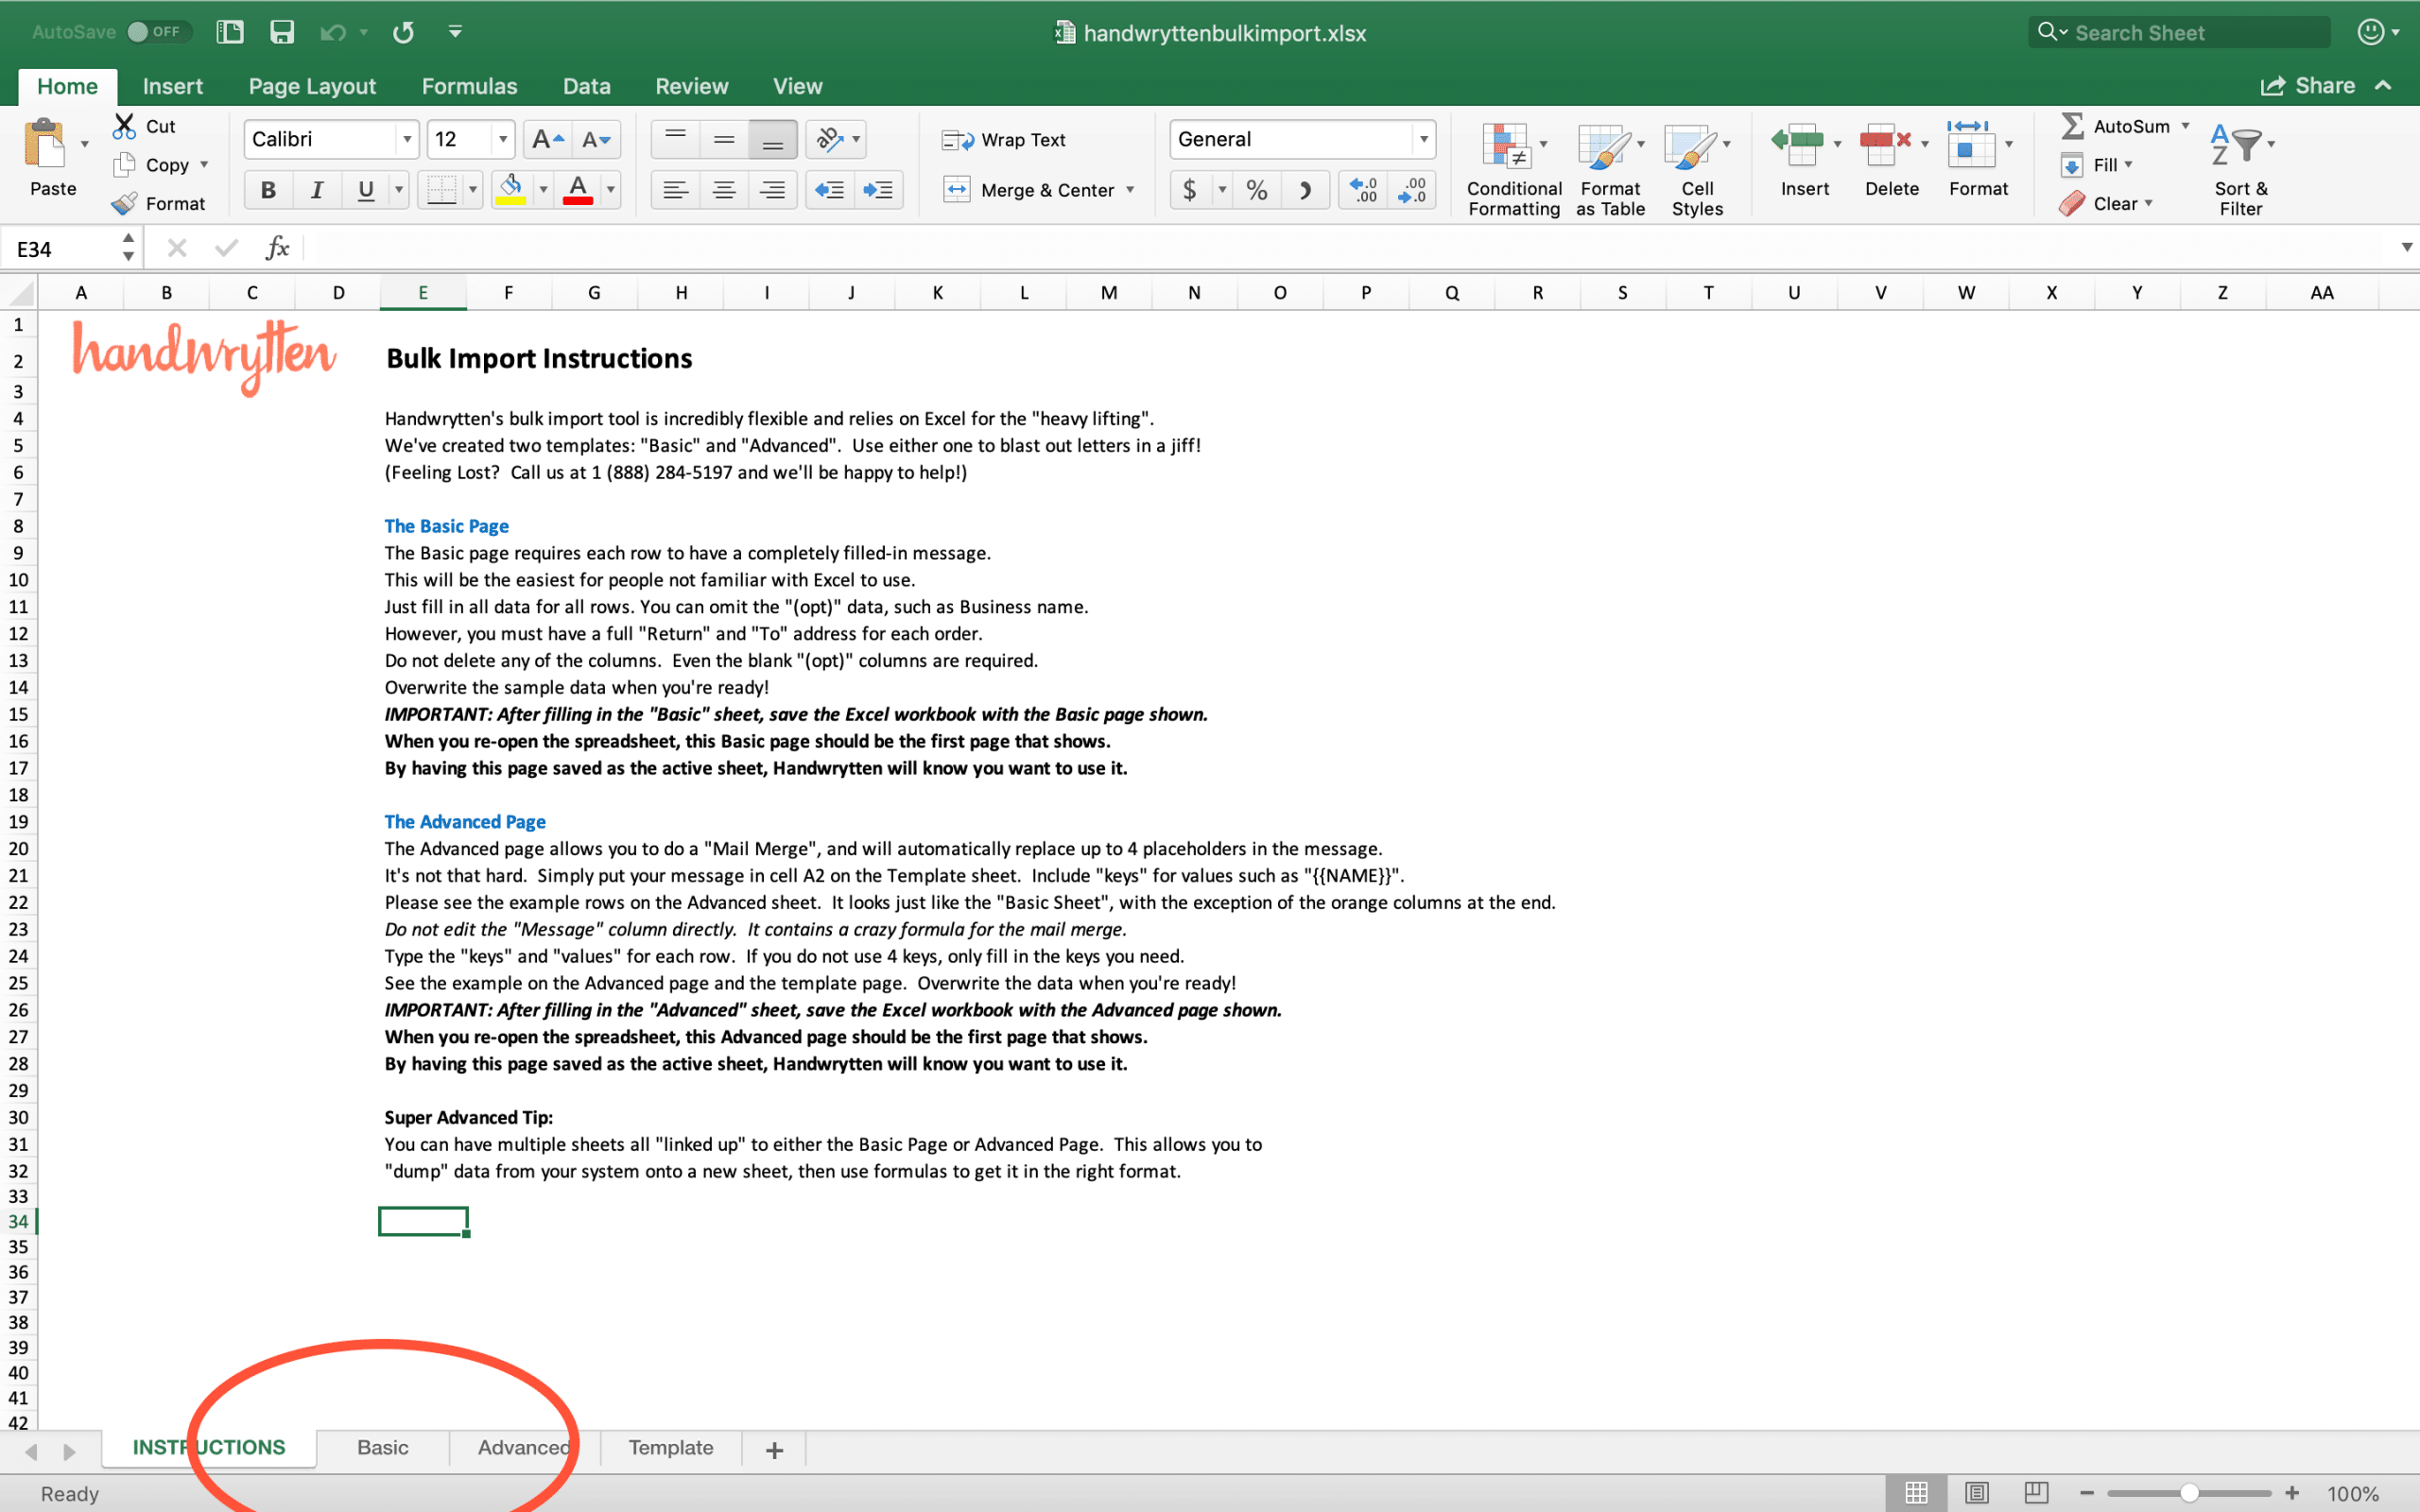
The Basic Tab is easiest for people who are not familiar with Excel. This page requires each row to have a completely filled-in message. Just fill in all data for all rows. You can omit the “(opt)” data, such as Business name. However, you must have a full “Return” and “To” address for each order.
Do not delete any of the columns. Even the blank “(opt)” columns are required.
Overwrite the sample data when you’re ready! If you have a signature designed with Handwrytten, reach out to our customer service team!
To make sure you fall within Handwrytten’s card length limits, you can use the final column to tell you the length of your message. Falling beneath 500 characters is required for all cards.
IMPORTANT: After filling in the “Basic” sheet, save the Excel workbook with the Basic page shown. When you re-open the spreadsheet, this Basic page should be the first page that shows. By having this page saved as the active sheet, Handwrytten will know you want to use it.
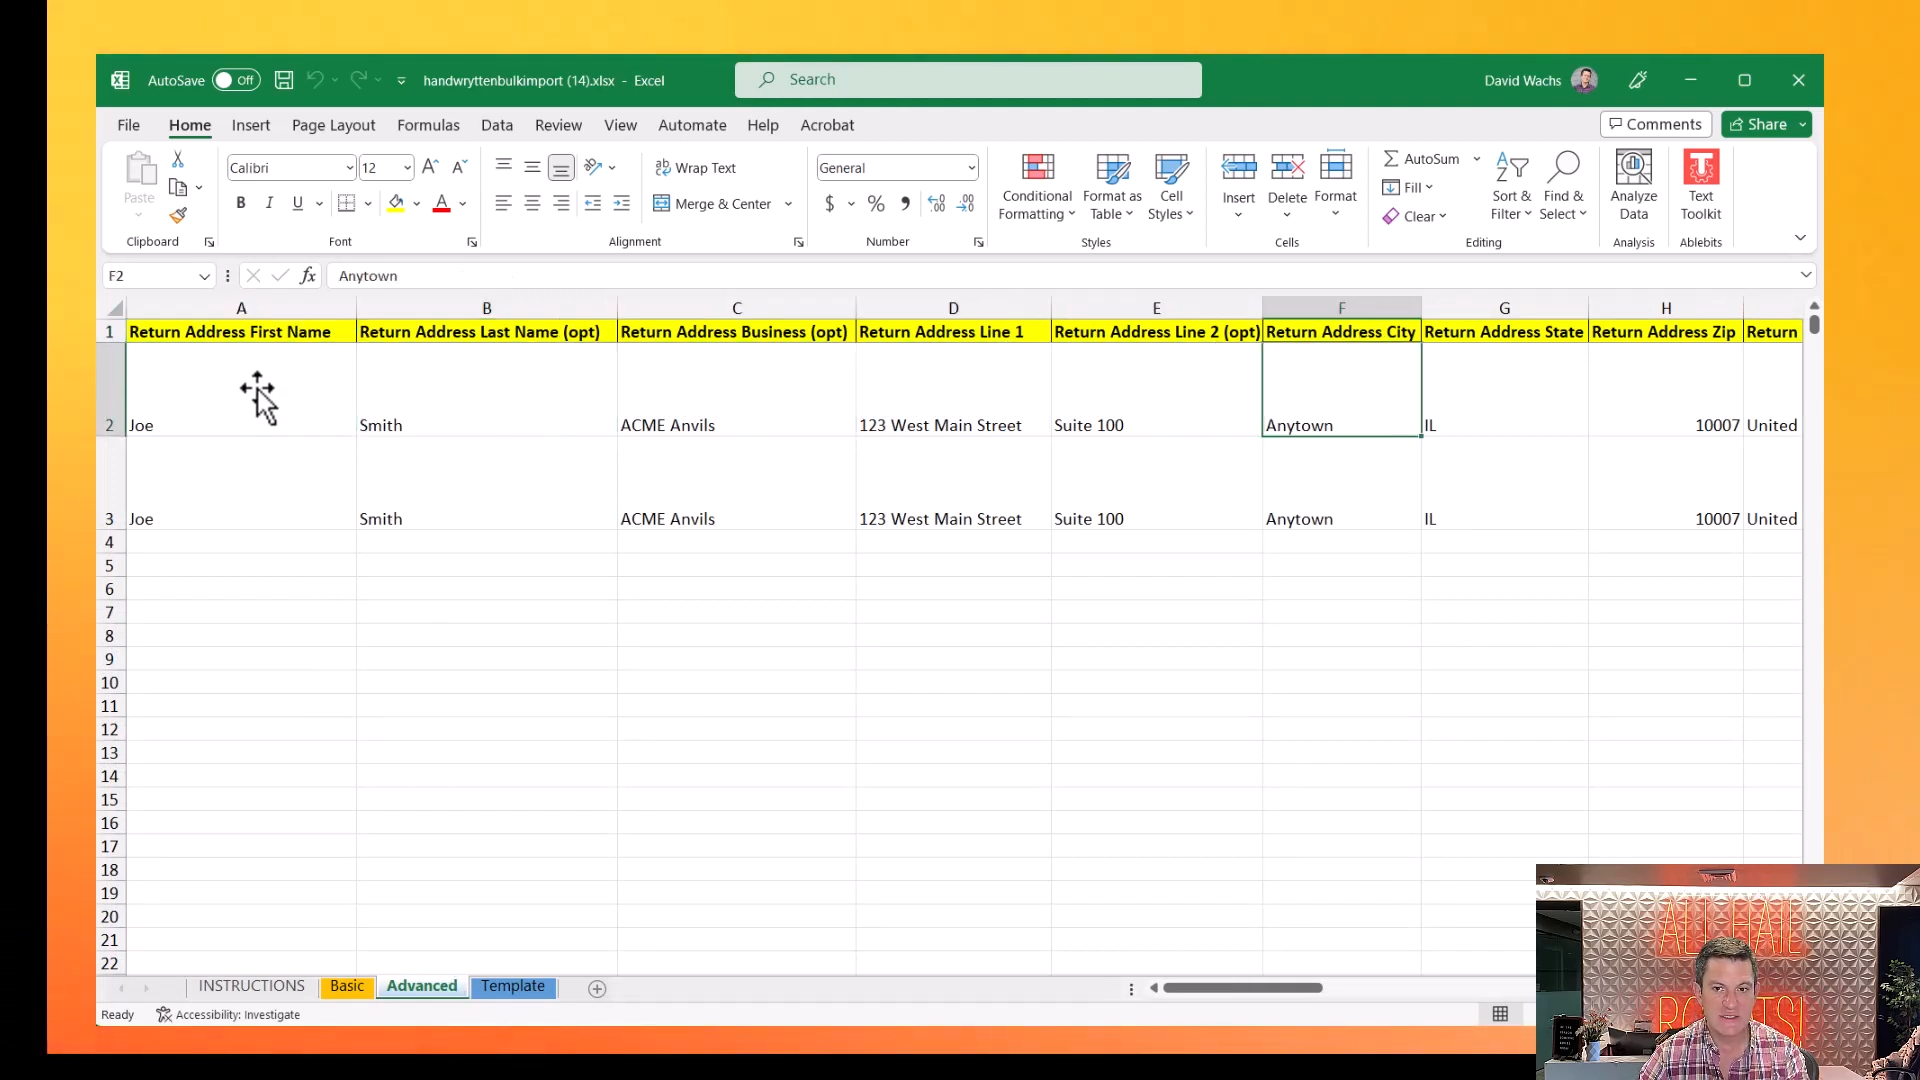
The Advanced page allows you to do a “Mail Merge” and will automatically replace up to 7 placeholders in the message. It’s not that hard.
Simply put your message in cell A2 on the Template sheet – do not edit the message on the Advanced sheet. Include “keys” in your message for values such as “{{NAME}}”. The keys you create are completely custom – make them simple so you can edit them easily.

To clarify, the keys that already exist in the Advanced tab, for example, are:
Now, back on the Advanced tab, you can see each of the 3 keys we created appear in a ‘Replacement Key’ column, with a corresponding value for each key in the column following. When you create a new key (i.e. add a new key into your message), you must add it in its own column on the Advanced tab. Otherwise, the card will just read the key and not the value you want it to.
Ensure that you copy and paste the Replacement Key for as many rows as you have. The easiest method to do this is to click on the top-most cell with a Replacement Key value, and look at the bottom right of the cell. There should be a small green dot there – click and hold on it, and drag down the length of your sheet.
If you have done all of this properly, you should see your messages in Column S properly populating the values you’ve put into the sheet.
IMPORTANT: After filling in the “Advanced” sheet, save the Excel workbook with the Advanced page shown. When you re-open the spreadsheet, this Advanced page should be the first page that shows. By having this page saved as the active sheet, Handwrytten will know you want to use it.
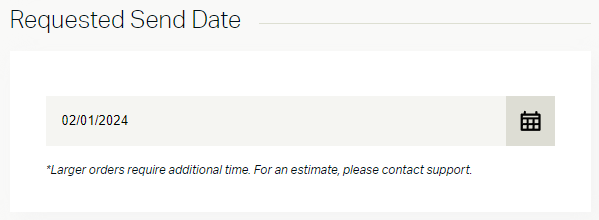
Once you have saved your template with the correct tab showing, uploaded the saved file and choose your send date. The “Send Date” is the date your order will be pulled to be written. We aim to complete all orders within one business day. On rare occasions, it might take two days.
After your note has been written, it will be handed off to the US Postal System to deliver.
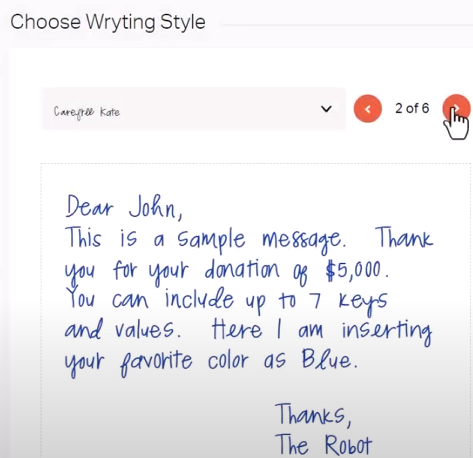
Select one of our handwriting styles to match the message and tone of your message. Contact us if you would like to learn more about how we can turn your handwriting into a custom font for you!
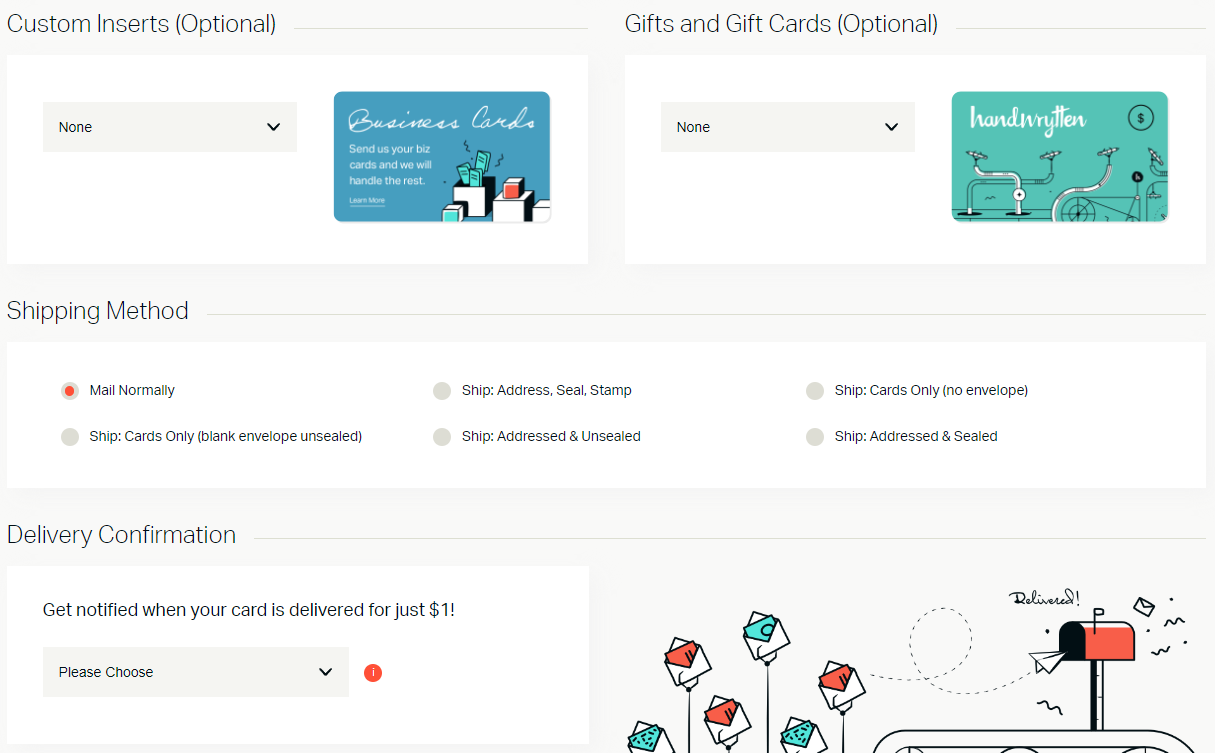
If you’d like to send gift cards, a custom insert, adjust the shipping method, or get delivery confirmations when you cards are received, now is the time to do so. This part is quite easy to understand doesn’t need too much explanation.
Once you add the items to your basket, you can review and ensure everything looks how it should. Hopefully, you should be well on your way to sending your Handwrytten cards in bulk!

Scale your handwritten outreach, creating positive impressions and long lasting bond.
Sign Up Today!


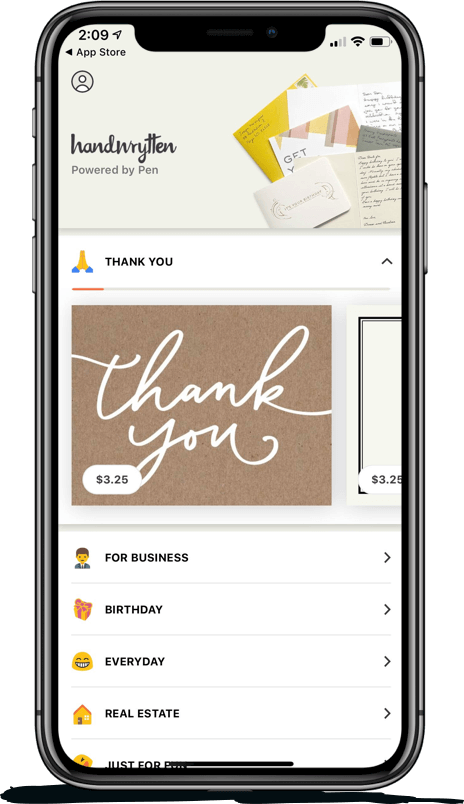
Over 100 designs to choose from or design your own. Our online card customizer makes it simple.
Check Out Our Cards!


Thank you.
