
Never miss a birthday again! With Handwrytten’s Birthday Automation system, you can send handwritten birthday cards automatically to friends, clients, and colleagues—on time, every time. This guide will walk you through How to Set Up Birthday Card Automations so you can stay consistent, save time, and make every birthday feel personal.
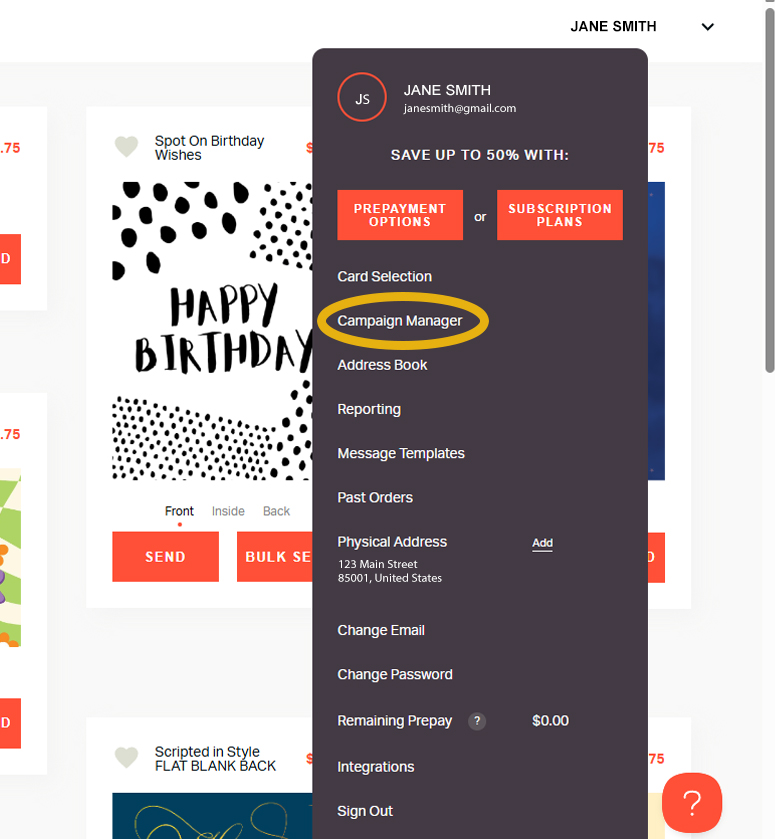
Start by logging into your Handwrytten account.
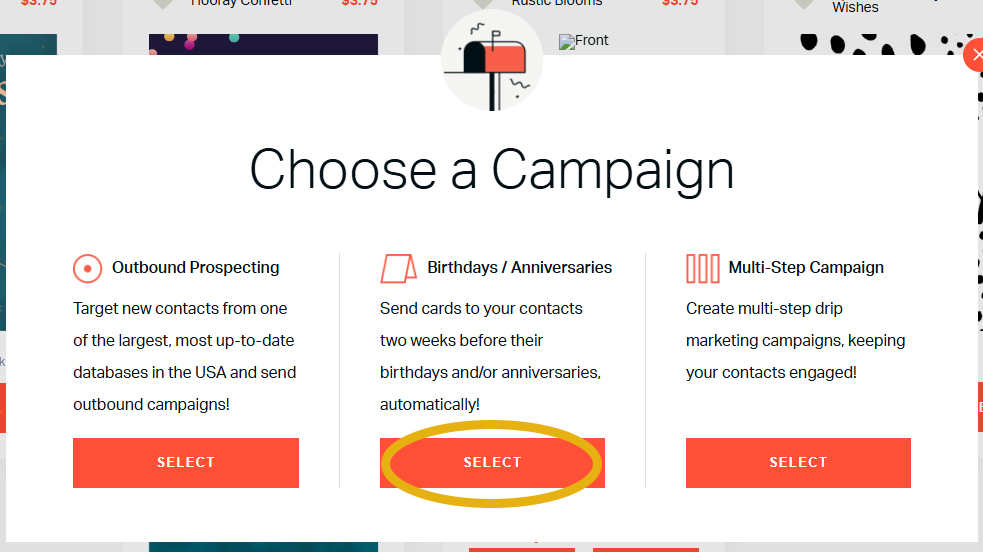
📝 Pro Tip: You can run multiple birthday automations at once—for example, one for clients and one for family and friends.
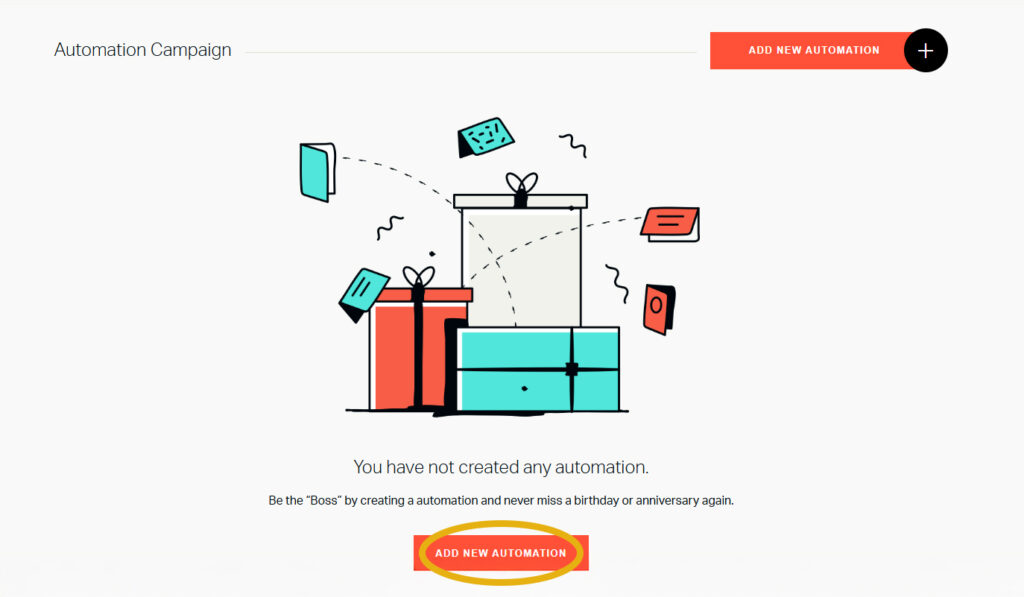
Click the Add New Automation button.
You can create different campaigns for different groups. Each campaign can have its own card, message, and gift settings.
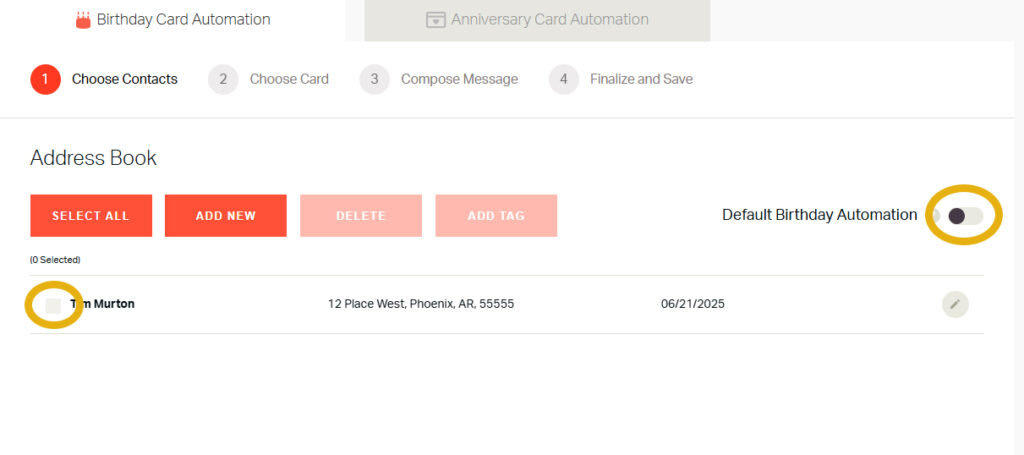
There are two ways to define who receives this automation:
Default birthday card automations go to all contacts in your address book who have a birthday saved, except any contacts already included in another birthday automation.
For example, if you’ve created a campaign for your business contacts and selected them manually, and you also have a separate campaign marked as “Default,” that default campaign will go to everyone except the business contacts already included in the first automation.
📝 To add or update a contact’s birthday, click the pencil icon next to their name.
Once your recipients are selected or you’ve marked the automation as default, click Continue to proceed.
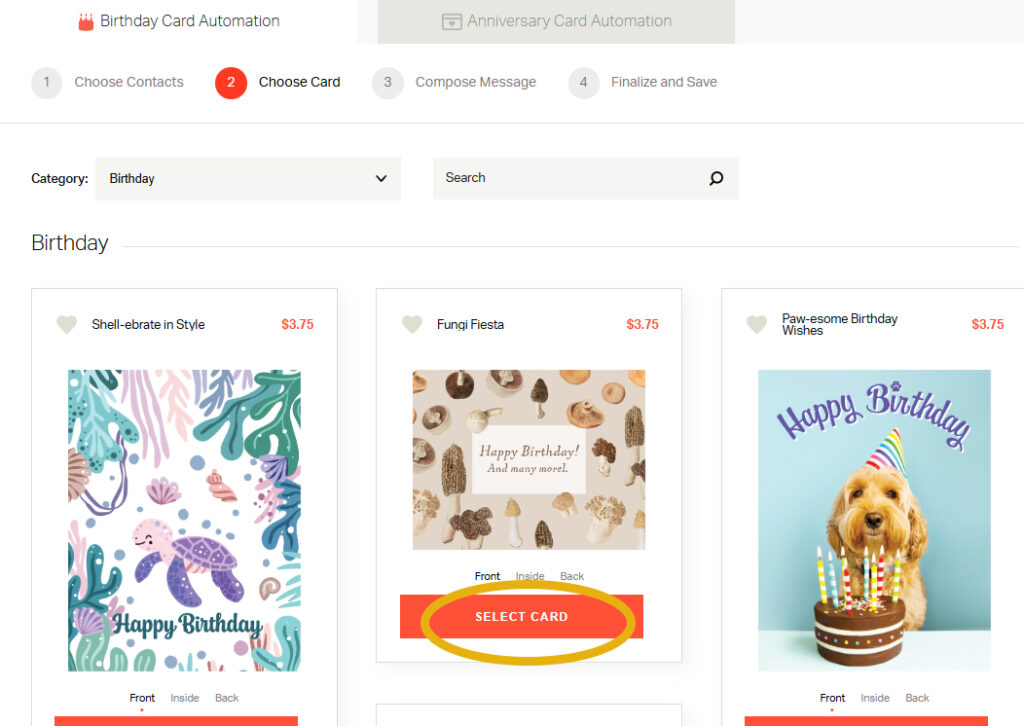
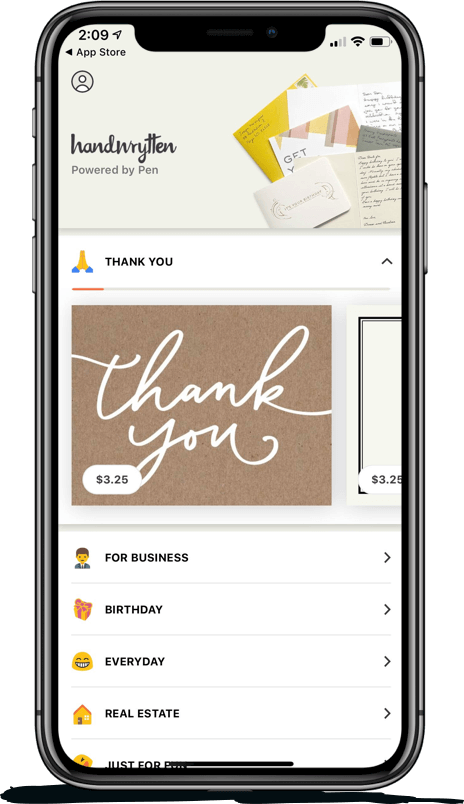
Choose a card from any category in Handwrytten’s catalog—not just birthday cards. This includes your saved favorites, seasonal cards, and even your custom-branded cards.
Once you find the card you’d like to use, click Select Card to proceed.
📝Pro Tip: You can update your selected card anytime by editing the automation—great for keeping your outreach fresh and relevant.
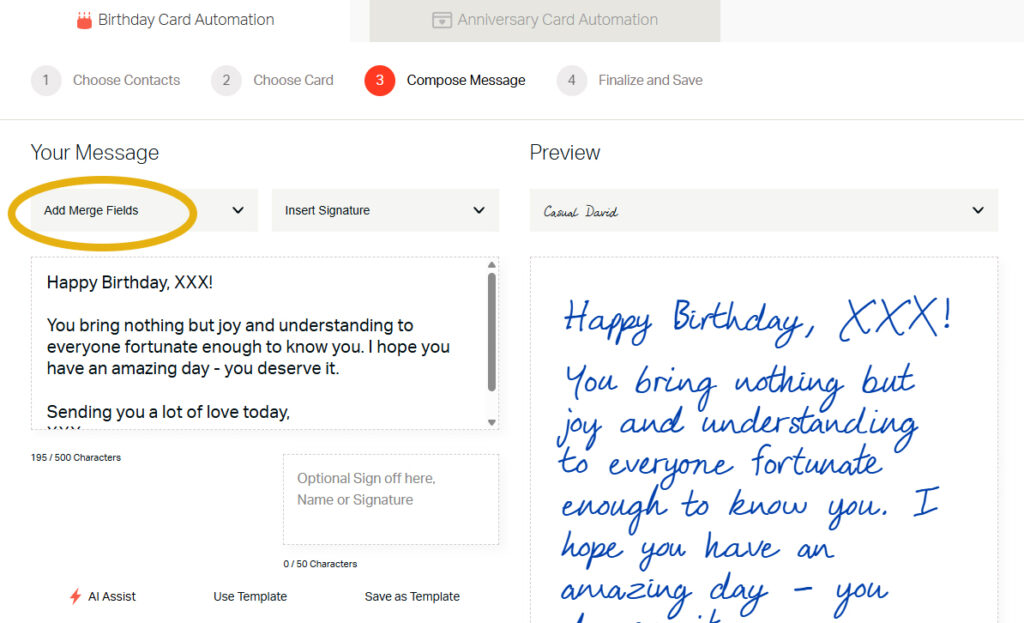
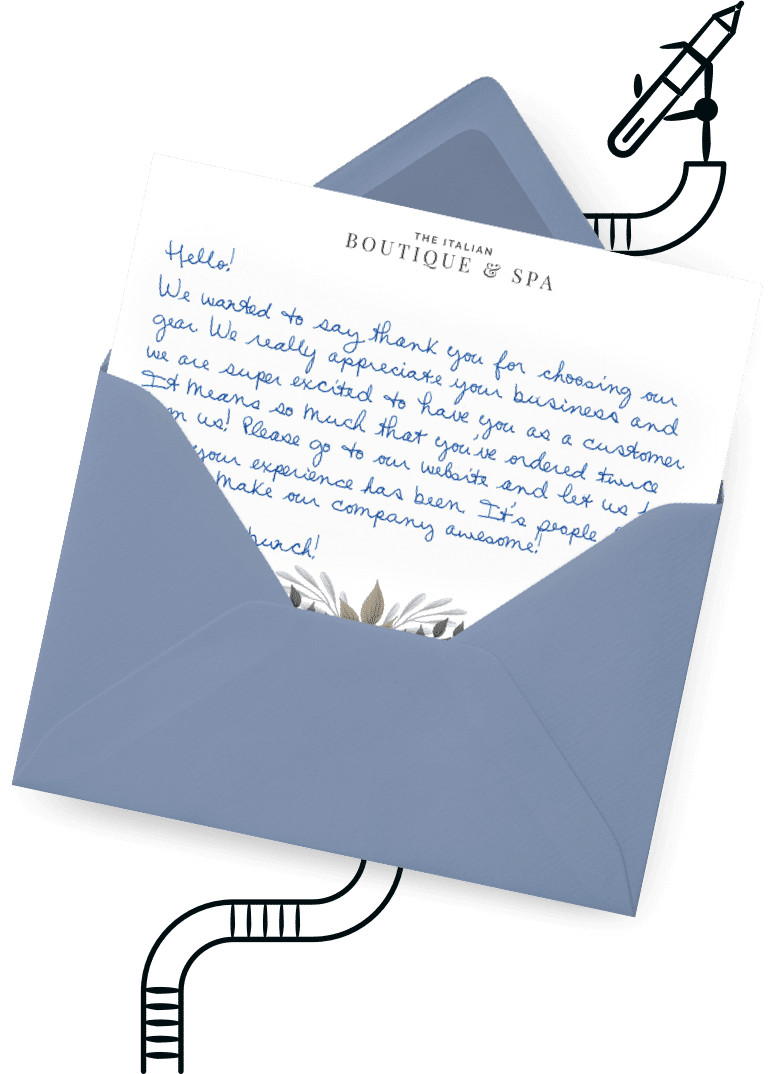
Now, craft your birthday note.
Once your message is ready, click Continue.
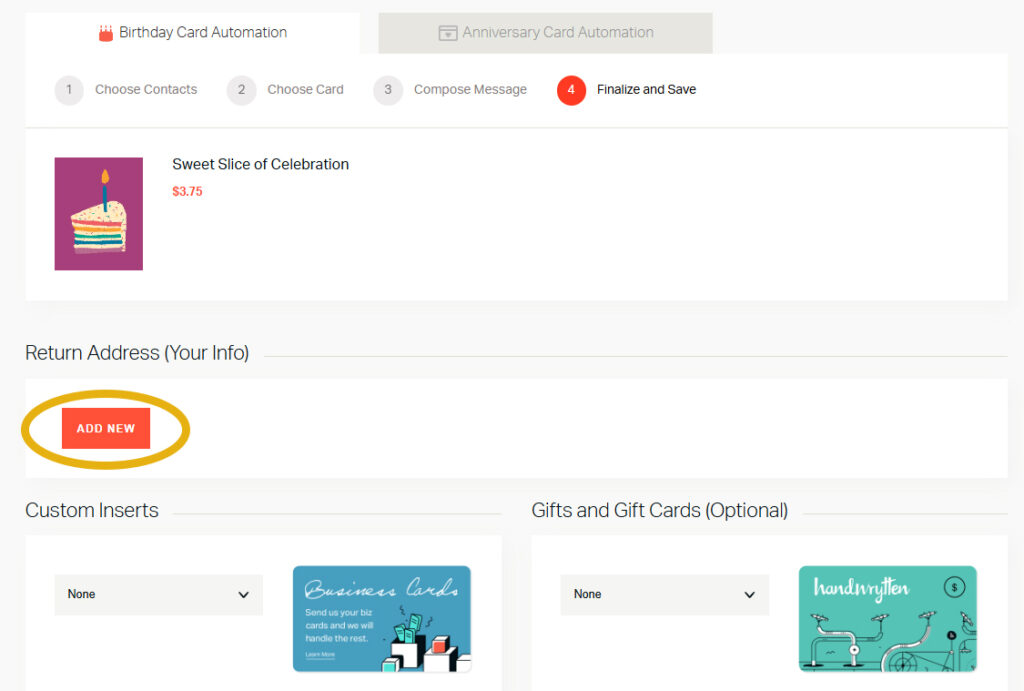
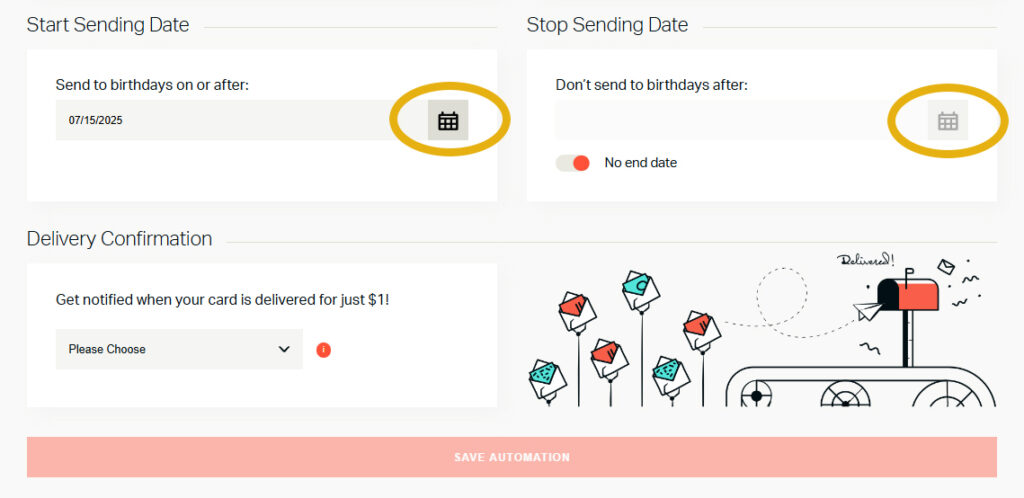
Set the final campaign details:
When everything looks good name your automation and click Save Automation.
You’ll return to the main automation page, where you can view and manage all your birthday campaigns.
✔ Segment your contacts – Create separate campaigns for clients, leads, friends, or team members for better personalization.
✔ Keep messages simple and timeless – Since cards are sent two weeks in advance, avoid messages that reference real-time events.
✔ Check birthdays regularly – New contacts without birthdays won’t be included. Keep your address book up to date!
✔ Use gift cards for added impact – Adding a $5–10 gift card can turn a nice gesture into a memorable one.
✔ Update your campaign message every few months – Keep it fresh, especially for recurring annual automations.
With just a little setup, birthday automations can turn into one of your most impactful (and effortless) touchpoints. By staying organized and keeping your messages fresh, you’ll create consistent, meaningful moments that people actually remember. And with Handwrytten handling the writing, addressing, and mailing, you can focus on building relationships—without adding more to your to-do list.
Still have questions? Our support team is happy to walk you through the process or help troubleshoot your campaign.
📧 Email: contact@handwrytten.com
💬 Can I include a different gift for each recipient?
No—each automation uses one card and one gift card option for all recipients in that campaign. To vary gifts, create separate automations.
💬 What happens if I add a birthday after an automation has started?
As long as the contact’s birthday is within the campaign window and not part of another birthday automation, they’ll be included automatically.
💬 Can I edit an existing birthday campaign?
Yes. Go to the Campaign Manager, find your automation, and click Edit to update the message, card, recipients, or schedule.

Scale your handwritten outreach, creating positive impressions and long lasting bond.
Sign Up Today!

Over 100 designs to choose from or design your own. Our online card customizer makes it simple.
Check Out Our Cards!


Thank you.
